Learning how to tie a ribbon bow can feel like a small superpower, really. It is that skill which transforms an ordinary gift into something truly special, adds a touch of elegance to a hairstyle, or brings a pop of cheer to home decor. The meaning of "tie" itself, as you might know, is to fasten, attach, or close by means of a tie, and with ribbon, that's exactly what we're aiming for: a beautiful, secure fastening that looks just right. So, if you've ever wanted to create those lovely loops and flowing tails, you are in the right spot, honestly.
There's a quiet satisfaction, you see, in presenting something adorned with a perfectly shaped bow. It speaks of care and attention, making the recipient feel extra thought of. A ribbon bow, quite like a well-knotted necktie, suggests a polished finish, showing a little bit of effort and flair. This guide will walk you through the process, making it simple for anyone to pick up this rather useful skill.
We're going to cover everything you might want to know about making a lovely ribbon bow, from picking the right ribbon to the step-by-step actions for a classic design. Just like those comprehensive guides on how to tie a necktie, which show different knot types and tips for choosing the right one, this will give you the details for ribbons. You will soon be able to add that lovely finishing touch to all sorts of things, pretty much.
Table of Contents
- Why a Beautiful Ribbon Bow Matters, Anyway?
- Getting Ready: What You'll Need
- The Classic Bow: A Step-by-Step Walkthrough
- Beyond the Basics: Other Bow Styles to Try
- Tips for a Truly Polished Ribbon Bow
- Common Questions About Tying Ribbon Bows
- Keeping Your Ribbons Looking Good
Why a Beautiful Ribbon Bow Matters, Anyway?
A well-made ribbon bow really does add a certain something to almost anything. Think about a birthday present: a simple box becomes a treasure when topped with a vibrant, well-formed bow. It’s a bit like how a quality necktie with vibrant colors can really complete an outfit, making it look much more put together. That little bit of extra effort, you know, shows someone you care enough to make things look their very best.
Beyond gifts, ribbon bows can change the feel of your home decor, perhaps by being tied around a vase or on a curtain tie-back. They can also be a charming addition to hair accessories, giving a simple ponytail or braid a touch of playful elegance. It's about adding a bit of personality and visual appeal, making things feel more thoughtful and complete, so to speak.
Choosing the right ribbon, too, plays a part in this. Just as you might pick a specific silk for a necktie, selecting a ribbon with good quality and a nice texture can make a big difference in how your bow turns out. A ribbon that holds its shape well, for instance, makes the whole process much simpler and the end result much more satisfying. It’s all about the details, you see.
Getting Ready: What You'll Need
Before you start, gathering your supplies will make the whole process much smoother. You don't need a lot of special items, which is quite nice. Just a few basic things will get you started on your way to creating lovely bows, honestly.
Ribbon Choices
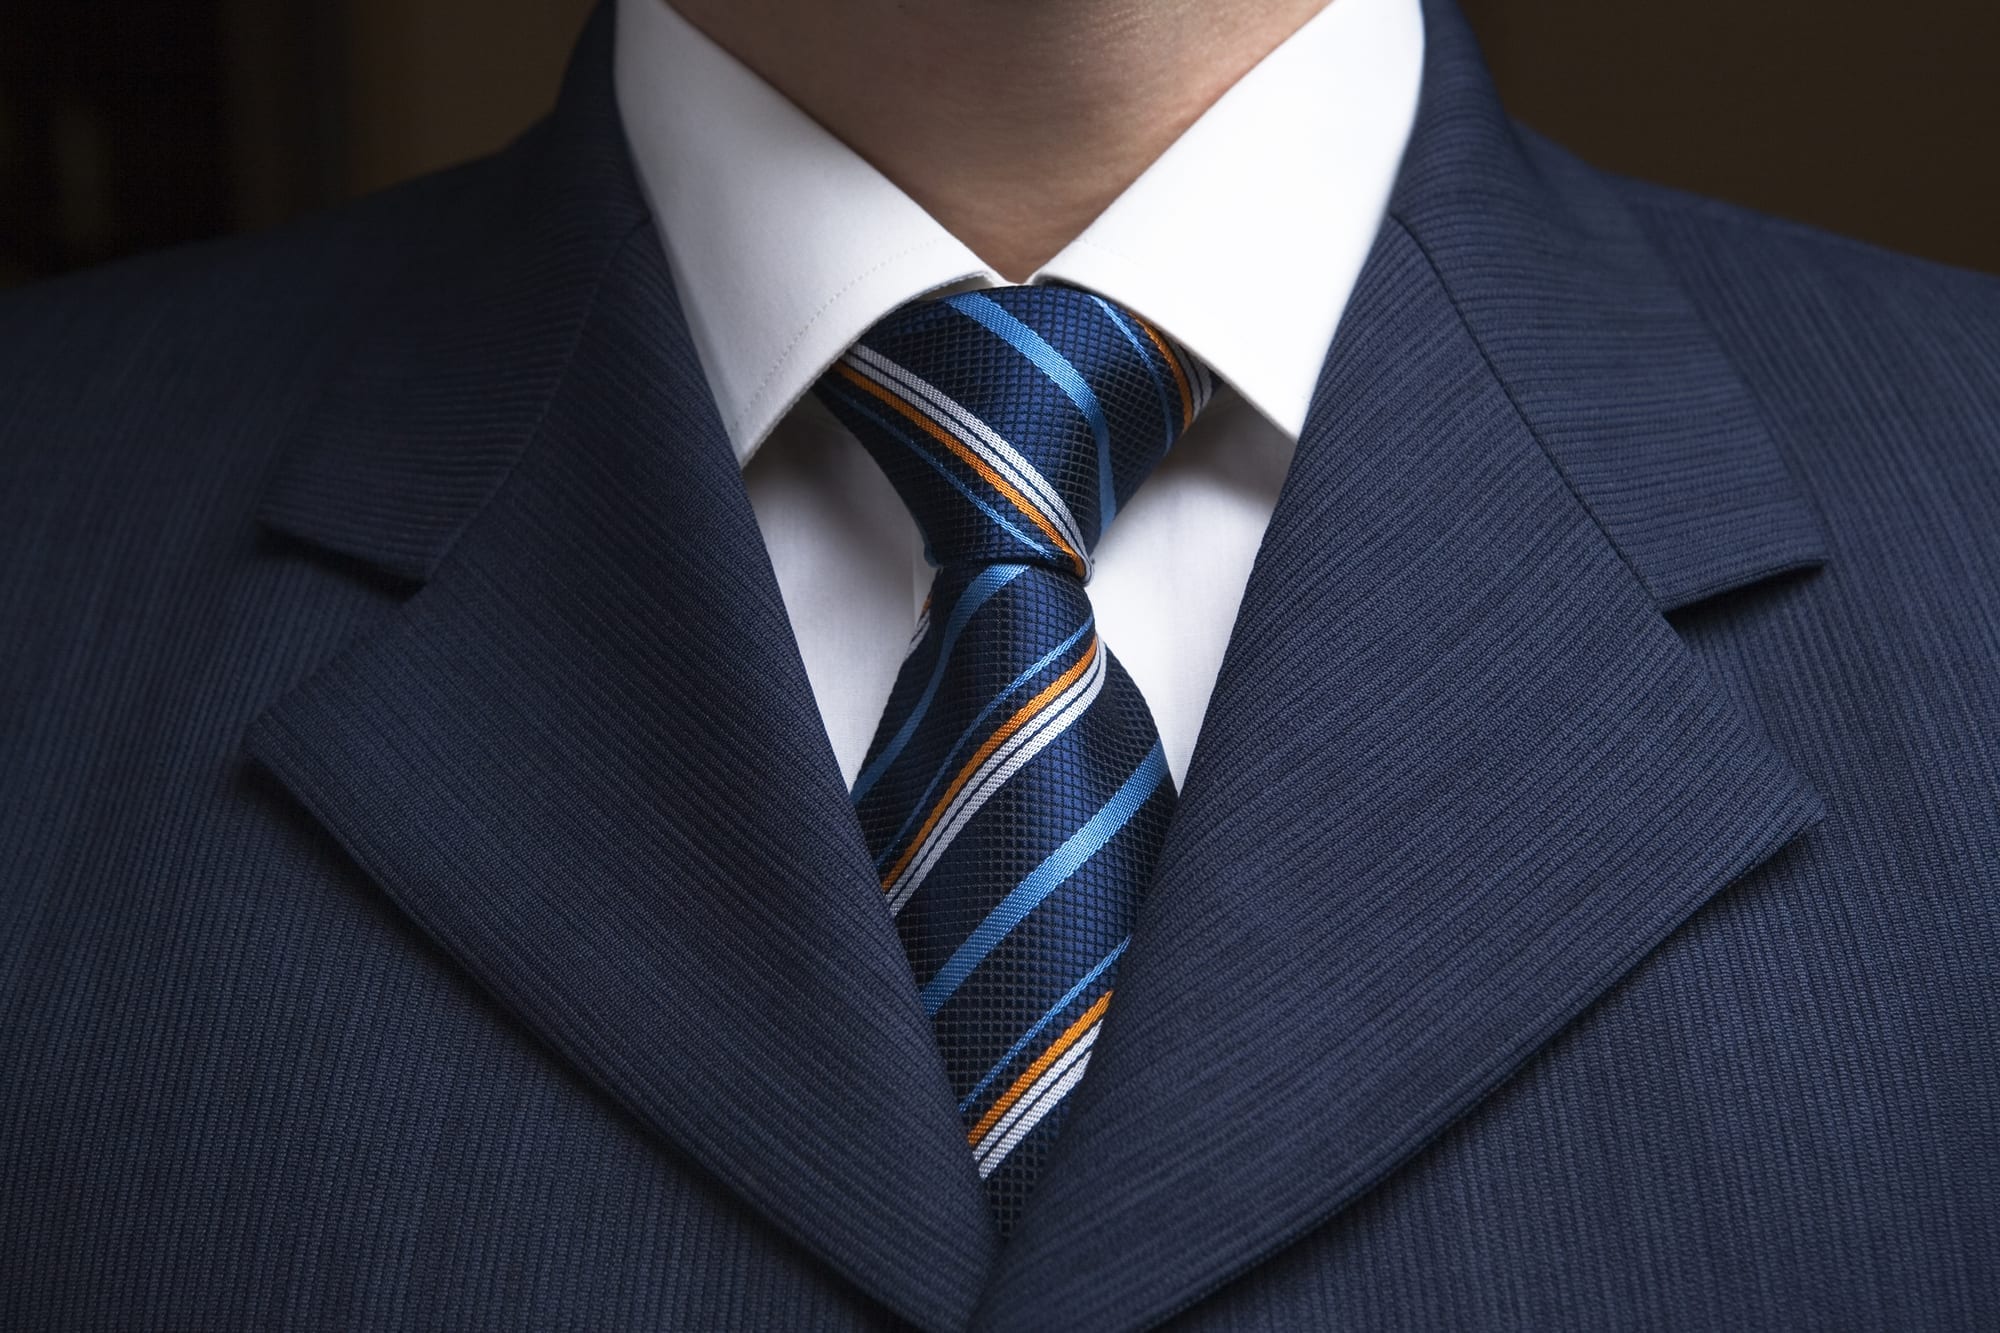
- Type of Material: Ribbons come in many different materials, each with its own feel and how it behaves when tied. Satin ribbons, for instance, have a smooth, shiny surface and drape beautifully. Grosgrain ribbons, on the other hand, are ribbed and hold their shape very well, making them great for bows that need to stand up a bit. You might also find ribbons made from silk, much like those fine English and Italian silks used for handmade neckties, which offer a luxurious feel and a beautiful sheen.
- Width: The width of your ribbon matters a lot for the look of your bow. Wider ribbons (like a 3.5-inch wide necktie, perhaps) create bigger, more dramatic bows, while narrower ribbons are good for delicate touches or smaller items. Consider what you are tying the bow on; a small jewelry box probably won't need a very wide ribbon, for instance.
- Length: You will want enough ribbon to make your loops and tails without running short. A good rule of thumb for a basic bow is to have at least 18-24 inches of ribbon, but for bigger bows, you might need even more. It’s better to have a bit extra than not enough, you know.
Other Useful Items
- Sharp Scissors: Clean cuts are pretty important for neat ribbon ends. Dull scissors can fray the ribbon, making your bow look a little messy.
- A Flat Surface: Working on a table or countertop gives you a stable area to manage your ribbon.
- A Mirror: Just like people practice tying knots in front of a mirror for best results with neckties, using a mirror can help you see your bow from a different angle, allowing for better adjustments, especially if you are tying a bow on yourself, like for hair.
The Classic Bow: A Step-by-Step Walkthrough
This method for tying a classic bow is really quite simple, a bit like learning a basic knot for a necktie. It's a comprehensive step-by-step guide that will help you create a neat, balanced bow every single time. We will focus on the traditional shoelace-style bow, which is a very versatile design, honestly.
Step 1: Preparing Your Ribbon
Start by holding one end of your ribbon in your non-dominant hand. Let the longer part of the ribbon drape down. You will want to make sure you have a good amount of ribbon to work with, allowing for two loops and two tails. Remember, the goal is to bind, fasten, or attach with this ribbon, so having enough length is quite key.
If you are tying the bow around an object, like a gift box, wrap the ribbon around the item first. Bring the two ends together in the front, making sure one end is a little longer than the other. This longer end will be what you work with to form your loops. It’s a good starting point, anyway.
Step 2: Forming the First Loop
Take the longer end of the ribbon and make a loop, about the size you want one side of your finished bow to be. Hold this loop between your thumb and forefinger where it meets the other ribbon end. This forms the first "ear" of your bow, so to speak. Make sure it feels secure in your hand; a good grip helps keep things tidy.
This initial loop sets the stage for the rest of the bow, so take a moment to get its size right. You want it to be a pleasing proportion for whatever you are adorning. A very small loop on a large gift might look a little off, for instance.
Step 3: Crossing Over
Now, take the other, shorter end of the ribbon and bring it over the top of the loop you just made. Think of it like you are starting to tie a basic knot. You are essentially crossing one piece of ribbon over the other, creating a simple overlap. This is a very common action in many kinds of knots, actually.
After crossing over, bring that same shorter end underneath the first loop and pull it through the opening you have created. This action begins to secure the bow in place. It's similar to how you would make the first step of a basic square knot, drawing the ribbon through to create a connection. You are really just drawing the ribbon together and knotting it, in a way.
Step 4: Pulling Through
As you pull that shorter end through, you will naturally start to form a second loop, mirroring the first one. Adjust this second loop so it is roughly the same size as your first. This is where the bow really starts to take its shape. You want both "ears" to be about equal, for a balanced appearance, you know.
Gently pull both loops away from the center, making sure the knot in the middle tightens. This is a delicate step; too much force can make the ribbon crinkle, but not enough will leave your bow loose. It's a bit of a feel thing, honestly.
Step 5: Tightening and Adjusting
Once both loops are formed, gently pull on them to tighten the center knot. You want it to be snug but not so tight that it distorts the ribbon or makes the loops look squashed. This is the moment to really shape your bow, to get it looking polished. Just like how simple instructions for neckties allow men and women to sport a polished tie, this helps you get that neat finish.
Adjust the loops and the tails until they look just right. You can gently tug on the edges of the loops to make them fuller or pull the tails to adjust their length. If the tails are too long, you can trim them with your sharp scissors, cutting them at an angle or a 'V' shape for a nice finish. People should practice tying knots in front of a mirror for best results, and the same goes for ribbon bows, as it helps you see the symmetry.
Beyond the Basics: Other Bow Styles to Try
Once you are comfortable with the classic ribbon bow, there are many other styles you might want to explore. Just as there are different knot types for neckties, like the Windsor or the 4-in-hand, ribbons also offer a variety of ways to be tied. This can add even more flair to your projects, pretty much.
For example, you could try a double-loop bow, which involves making two loops on each side for a fuller, more luxurious look. Or perhaps a stacked bow, where you layer different ribbons of varying widths and textures to create a very rich appearance. There are also wired ribbon bows that let you shape the loops and tails with more precision, which is quite handy for certain decorations.
Some people even get quite creative, making bows that look like flowers or other shapes, using special techniques. The possibilities are rather wide open, allowing for a lot of personal expression. It’s all about experimenting and seeing what you like best, you know.
Tips for a Truly Polished Ribbon Bow
Getting your bow to look its very best involves a few small tricks that can make a big difference. These little things help your ribbon bow go from good to truly great, giving it that professional, thoughtful appearance. So, pay a little attention to these details, honestly.
Practice Makes Perfect
Just like any skill, tying a ribbon bow gets easier with practice. Remember how people should practice tying knots in front of a mirror for best results when learning neckties? The same idea applies here. The more you do it, the more natural it feels, and the better your bows will look. Don't get discouraged if your first few aren't exactly what you hoped for; keep trying, you know.
Choosing the Right Ribbon
The type of ribbon really does affect the final look. A ribbon with a bit of body, like grosgrain, will hold its shape better for a crisp bow. A softer ribbon, like satin or silk, will create a more flowing, elegant bow. This is a bit like tips for choosing the right tie; the material and width matter for the desired effect. Think about the overall feel you want to achieve, pretty much.
Keeping it Neat
Once your bow is tied, a little fluffing and adjusting can make it look much better. Gently pull on the loops to make them full and symmetrical. Make sure the tails hang nicely. If your ribbon is prone to fraying, you can lightly singe the ends with a flame (carefully!) or use a liquid fray stop product to keep them tidy. This is part of the "maintenance advice" to keep your bows looking good over time, you see.
Using a Mirror
As mentioned, practicing in front of a mirror can be incredibly helpful. It gives you a different perspective, allowing you to spot uneven loops or crooked tails that you might miss otherwise. This is especially useful if you are tying a bow on something you can't easily turn around, like a large package or a hair bow. It helps you get that balanced look, anyway.
Customization and Flair
Ribbon bows are a wonderful way to add a personal touch. You can choose colors that match a theme, or use ribbons with patterns that reflect someone's personality. Just like customizable ties can be fun and unique, so too can your ribbon choices. Don't be afraid to experiment with different ribbon combinations or add small embellishments like charms or beads to the center of your bow for extra flair. You can really make it your own, you know.
Common Questions About Tying Ribbon Bows
Many people have similar questions when they are first learning how to tie a ribbon bow. It's totally normal to wonder about the best ways to get that perfect shape or to make sure your bow stays put. Here are some answers to common questions, honestly.
How do you make a perfect bow out of ribbon?
Making a "perfect" bow really comes down to a few key things. First, choose a ribbon that has a good body and isn't too flimsy, as this helps it hold its shape. Second, pay close attention to making your loops equal in size and fullness. Pulling the knot in the center snug but not too tight is also very important. Finally, take your time to adjust the loops and tails until they are symmetrical and look just right. Practice, as we discussed, makes a huge difference in achieving that ideal look, pretty much.
What is the easiest