Do you ever wish you could capture the bright, tropical feel of a hibiscus flower on paper? Many people feel that way, you know. Creating a beautiful hibiscus flower drawing can seem a bit tricky at first glance, but it's actually a very rewarding and calming activity. It's a wonderful way to bring some more beauty into your day, so it is.
Perhaps you've tried drawing flowers before and felt a little stuck. Maybe you thought you needed special artistic talent or lots of fancy tools. Well, that's not the case here, as a matter of fact. This guide is all about making the process simple and fun for everyone, from kids to grown-ups just starting out.
We're going to walk through each part of drawing a hibiscus flower, right from the very first line to adding color. You'll learn easy techniques to sketch these lovely blooms, and you'll find out how to recreate this gorgeous flower by following along with me. It's pretty straightforward, honestly.
Table of Contents
- Who Wants to Draw a Hibiscus Flower?
- Why Learn Hibiscus Flower Drawing?
- What's Popular in Flower Drawing Right Now?
- Common Questions About Drawing Hibiscus
- Getting Started: What You Need for Your Hibiscus Flower Drawing
- Step-by-Step Guide to Your Hibiscus Flower Drawing
- Tips for Your Best Hibiscus Flower Drawing
- More Hibiscus Drawing Ideas to Try
- Your Next Steps in Hibiscus Flower Drawing
Who Wants to Draw a Hibiscus Flower?
This drawing guide is really for anyone who likes flowers or wants to try a new creative hobby. If you are a beginner, this is definitely for you. Kids can absolutely draw a great looking hibiscus with these instructions, too. People who just want a relaxing activity after a long day will find this helpful. It's for folks who enjoy making things with their hands, and want to add some pretty art to their lives, basically.
Perhaps you feel like you aren't an artist, or maybe you worry about making mistakes. That's a common feeling, you know. This approach is made to take away those worries. We focus on simple, clear steps so everyone can feel good about what they create. It’s pretty much about having fun and seeing what you can do.
Your main interest might be learning a new skill, or perhaps you just want a nice picture to hang up. Whatever your reason, learning how to draw a hibiscus flower is easy and fun if you follow our simple process. It really is that straightforward.
Why Learn Hibiscus Flower Drawing?
Learning how to draw a hibiscus is a great way to bring some more beauty into your day, you know. These flowers are known for their bright colors and lovely shapes. Drawing them helps you notice the small details in nature, which is a pretty cool thing. It can be a very calming activity, too.
When you sit down to draw, you get a chance to slow down and focus. This can help reduce any stress you might feel. It’s a bit like a mini-break for your mind, honestly. Plus, finishing a drawing gives you a real sense of accomplishment, which feels good.
This skill also lets you make personalized gifts or decorations. Imagine drawing a beautiful hibiscus for a friend or to brighten up your own space. It's a simple pleasure that brings a lot of joy, and stuff. You get to create something lovely with your own hands.
What's Popular in Flower Drawing Right Now?
As of late, people are really enjoying drawing flowers that are both simple and look pretty real. The idea is to make something that feels natural without being too hard to do. Many people are looking for quick, easy guides that they can follow at home, you know.
There's a big interest in art that helps you relax. So, drawing tutorials that focus on calming steps and a peaceful process are quite popular. People also like to share their finished drawings online, which makes it a fun community activity. It's all about making art accessible to everyone, basically.
Printable drawing guides and coloring pages are also very much in demand. These help people get started quickly, or they can use them to practice outlining and coloring. The goal is to make drawing fun and simple for everyone, which is definitely what we aim for here.
Common Questions About Drawing Hibiscus
People often have a few questions when they start thinking about drawing a hibiscus flower. We've gathered some of the most common ones to help you feel ready.
How do you draw a simple hibiscus flower?
Drawing a simple hibiscus flower starts with basic shapes. You begin with a cup-like form for the main part of the flower. Then, you add five wide, overlapping petals around this shape. Finally, you draw the long stamen coming from the center, with small, round pollen tips. It's pretty much about building it up piece by piece.
What are the basic steps to draw a hibiscus?
The basic steps involve sketching the main body, adding the distinct petals, drawing the central column with its pollen parts, and then refining your lines. After that, you can add shading to give it depth. The final step is often adding color to make it truly pop. Each step is detailed and easy to follow so you can make your own hibiscus, you know.
Can beginners draw a realistic hibiscus?
Absolutely, beginners can draw a realistic hibiscus! This guide is made for beginners, actually. We break down the process into small, manageable steps. By focusing on simple techniques for sketching and shading, anyone can create a great looking hibiscus. You don't need fancy tools, just a pencil, some paper, and a little patience, which is really all it takes.
Getting Started: What You Need for Your Hibiscus Flower Drawing
You don't need a lot of special art supplies to get started with your hibiscus flower drawing. This is good news, right? A simple pencil is really all you need for the initial sketch. Any kind of paper will work fine, too. You might want an eraser, just in case you want to fix any lines.
If you plan to add color, you could use colored pencils, crayons, or even watercolors. The choice is yours, honestly. The most important thing is to have something to draw with and something to draw on. It's pretty much about using what you have available.
Having a comfortable place to sit and good light also helps a lot. This makes the drawing process more enjoyable. Remember, no fancy tools needed, just a pencil, some paper, and a little patience. That's the main idea.
For ideas on basic drawing tools, you might find some helpful information at a general art supply guide. Learn more about basic art supplies to get started.
Step-by-Step Guide to Your Hibiscus Flower Drawing
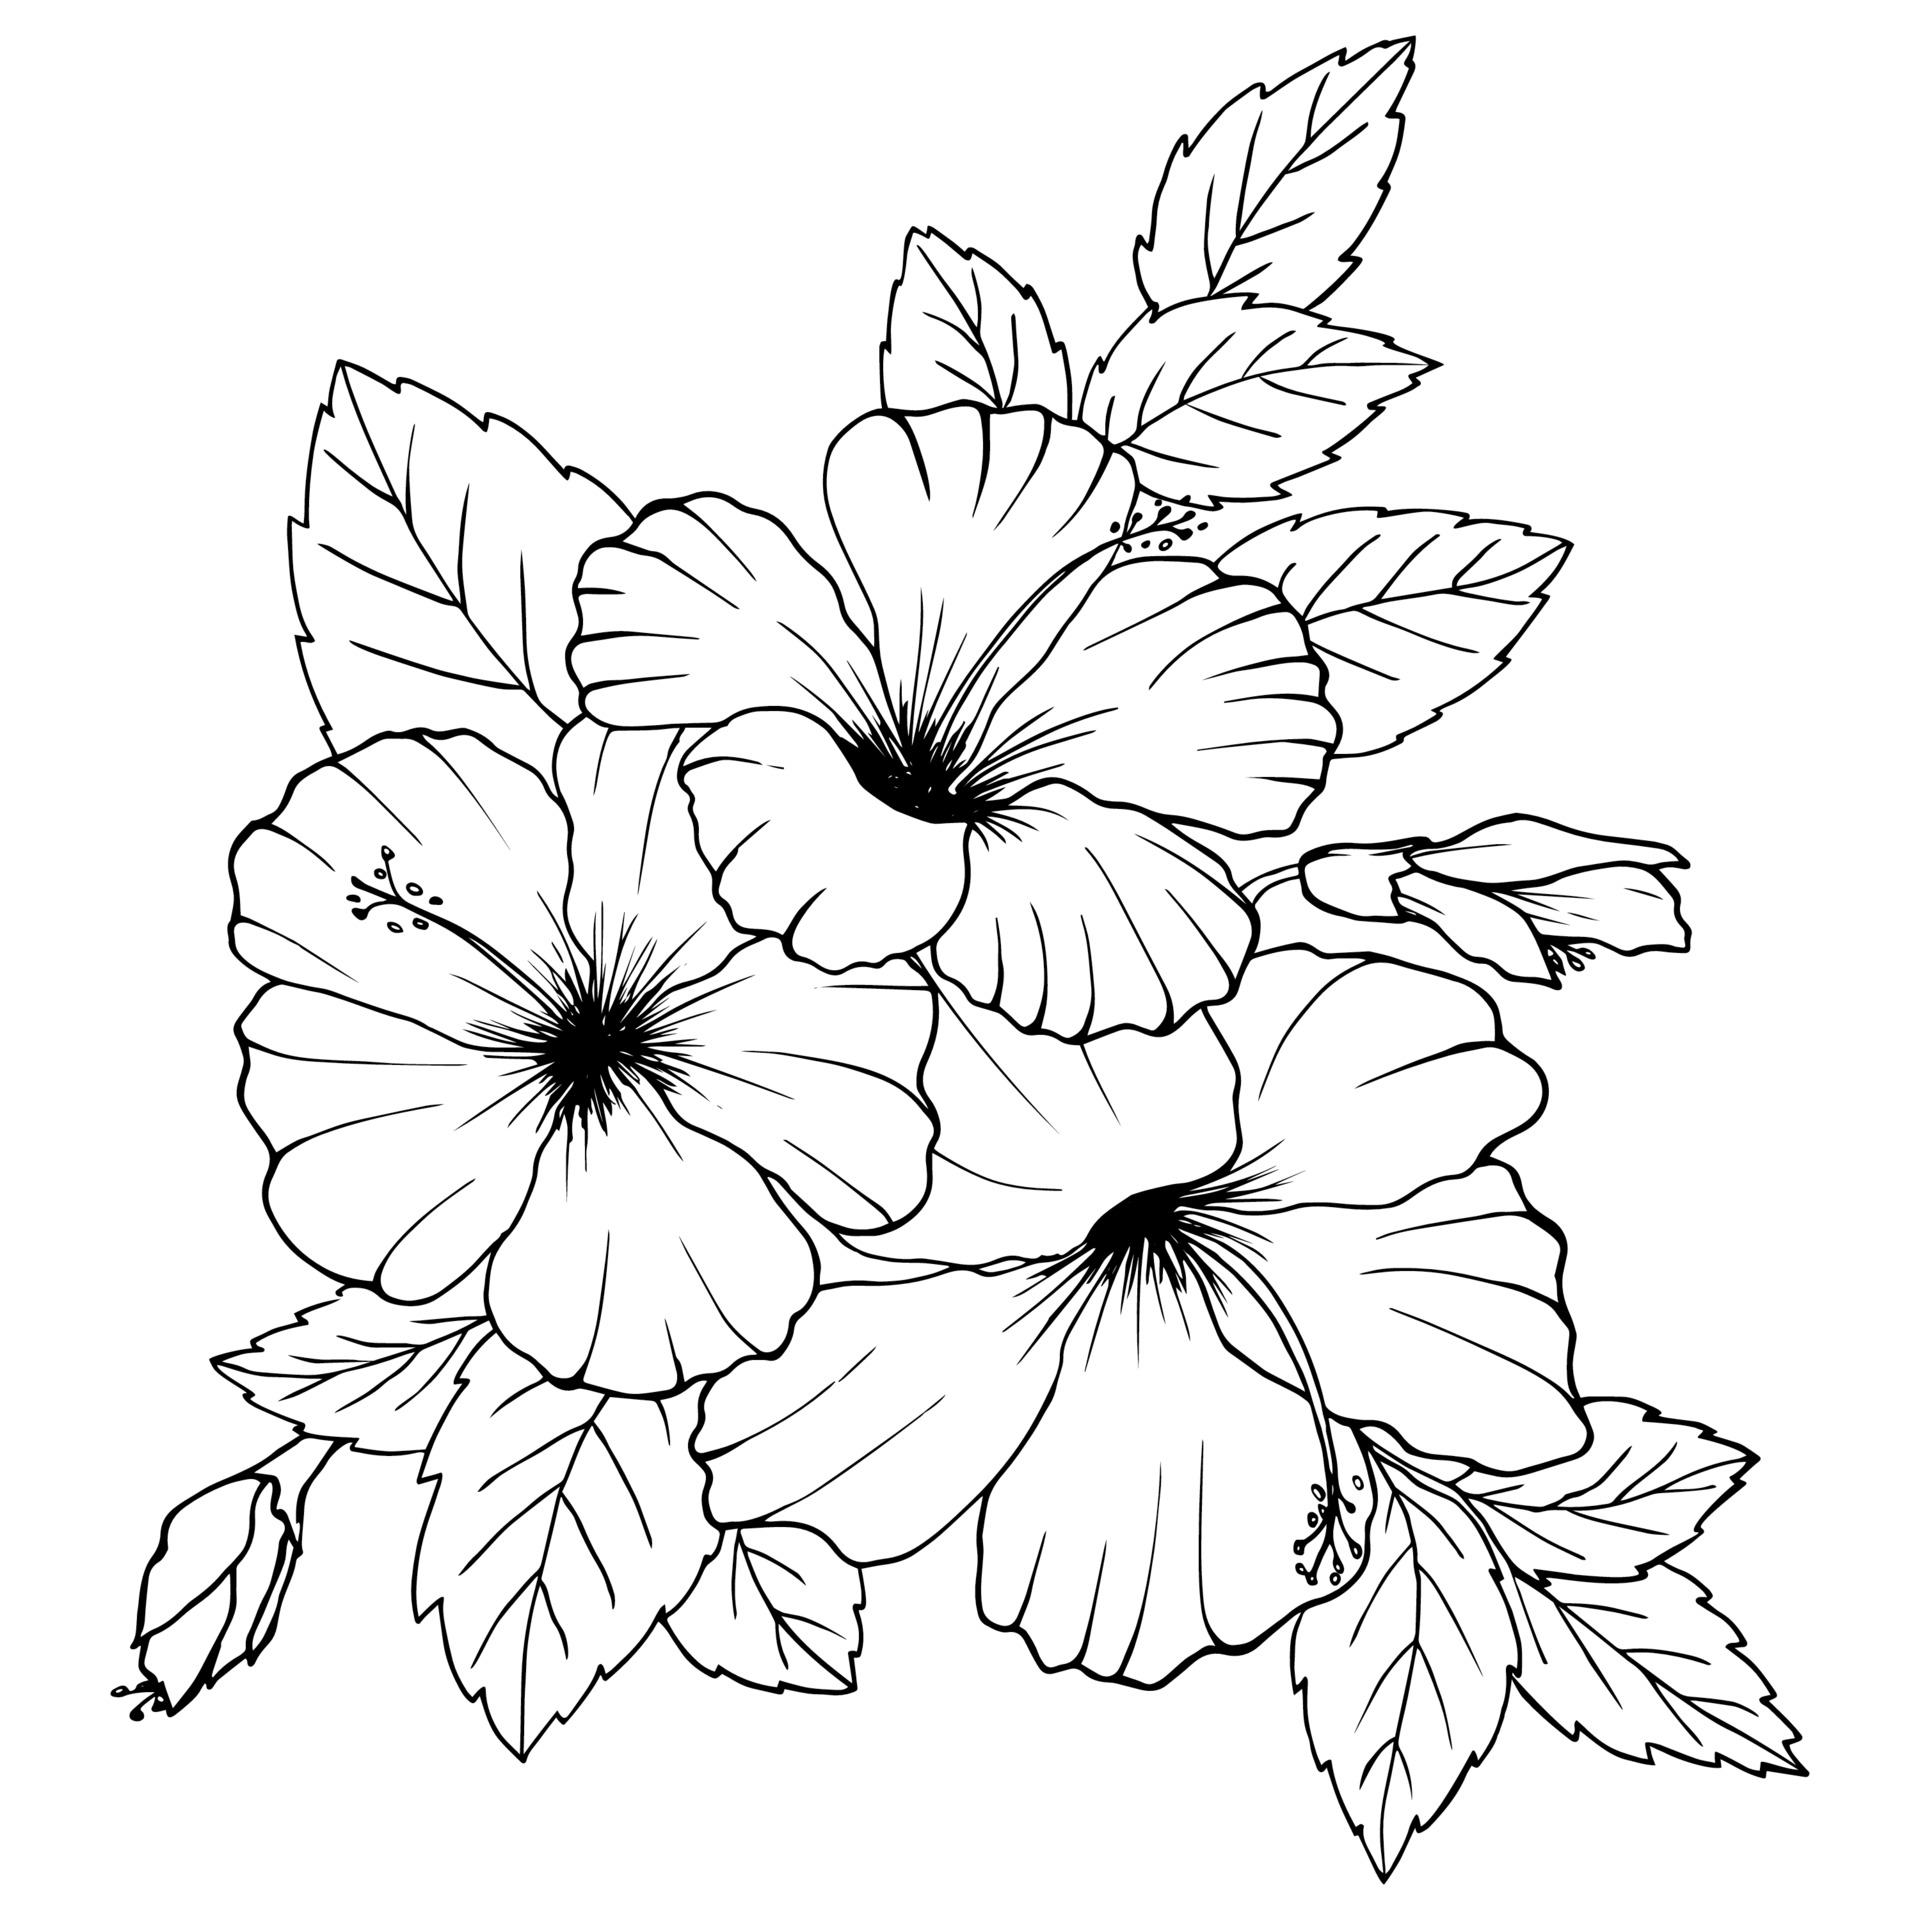
We're going to show you how to draw, outline, and color your hibiscus flower. This is an easy approach to drawing flowers that is fun and simple! We will guide you through a beginner friendly step by step tutorial to draw a hibiscus flower. Each step is detailed and easy to follow so you can make your own hibiscus, you know.
Step 1: The Initial Shape
Start by drawing a soft, oval shape on your paper. This will be the main body of your flower, kind of like a cup. Don't press too hard with your pencil, as these lines are just guides. You can make it a little wider at the top than the bottom, so it's almost like a bell shape.
Then, draw a small circle at the very bottom center of this oval. This circle will be where the stem connects. It's just a light mark for now, you know. This first step is all about setting up the basic structure, essentially.
Step 2: Adding the Petals
Now, let's add the petals. A hibiscus flower typically has five large petals. Draw them coming out from the top part of your oval shape. Make them wide and a little wavy at the edges. Think of them like soft, overlapping hearts, more or less.
Each petal should connect back to the main oval. Some petals will overlap others, creating a natural look. Don't worry about making them perfect; a little unevenness makes it look more real. Try to make them different sizes slightly, too.
Remember, these are still light sketch lines. You want to be able to adjust them later if you need to. This is where your hibiscus flower drawing really starts to take shape, you know.
Step 3: The Center and Stamens
Next, we will draw the very center of the flower. From the small circle at the bottom of your main oval, draw a long, thin line curving upwards. This is the central column, or stamen, of the hibiscus. It often curves a little, so it's not perfectly straight.
At the top of this long line, draw five small, round shapes. These are the pollen sacs, or anthers. They look a bit like tiny beads on stalks. Make them spread out slightly, like a tiny star. This part gives the hibiscus its unique look, you know.
You can also draw a very small, star-like shape right at the very tip of the central column, above the pollen sacs. This is the stigma, where the pollen lands. It's a small detail, but it adds to the realism, pretty much.
Step 4: Refining the Outline
Now it's time to make your lines clearer. Go over your light sketch lines with a slightly firmer hand or a darker pencil. Carefully trace the shapes of the petals, the central column, and the pollen tips. You can adjust any lines that don't look quite right, you know.
Erase any of the initial light sketch lines that you no longer need. This cleans up your drawing and makes the main shapes stand out. Pay attention to the curves and the way the petals overlap. This step really brings the hibiscus flower drawing to life, essentially.
You might also add a stem coming down from the bottom of the flower. Just a simple line will do, or you can add a leaf or two if you like. It's all about making it look complete, you know.
Step 5: Shading and Depth
To make your hibiscus flower drawing look more realistic, you can add some shading. Think about where light might hit the flower. Areas that are further back or hidden by other petals will be a bit darker. Use your pencil to gently shade these areas.
You can use different levels of pressure to create lighter and darker shades. For example, the inside of the petals where they meet the center might be a little darker. The underside of the petals, too, could have some shadow. This gives your drawing a sense of depth, which is really cool.
Practice blending your shading by rubbing it gently with your finger or a paper stump. This makes the transitions smooth. This easy drawing guide is packed with tips and shading ideas, so you can really make your flower pop, you know.
Step 6: Bringing in Color
Adding color is where your hibiscus flower drawing truly shines. Hibiscus flowers come in many bright colors like red, pink, orange, yellow, and white. Choose your favorite color to start with. Use colored pencils, crayons, or whatever you have.
Start by coloring lightly, then build up the color in layers. This allows you to control the intensity. You can add darker shades of your chosen color in the areas where you added pencil shading to create more depth. For instance, if your flower is red, use a darker red or even a bit of purple in the shadowed areas.
The central column is often a different color, like yellow or a lighter shade of the petal color. The pollen tips are usually yellow. Have fun with it, you know. This is your chance to make your beautiful, colorful hibiscus bloom truly unique.
Tips for Your Best Hibiscus Flower Drawing
- Start Light: Always begin with very light pencil lines. This makes it easy to erase mistakes or adjust shapes later. It's pretty much a basic rule for drawing.
- Observe Real Flowers: If you can, look at a real hibiscus flower or good pictures of one. Notice how the petals curve, how they overlap, and where the light hits them. This really helps, you know.
- Practice Shapes: Before drawing the whole flower, practice drawing ovals, curves, and wavy lines on a separate piece of paper. This builds your hand control, essentially.
- Be Patient: Drawing takes time and practice. Don't get discouraged if your first try isn't perfect. Each drawing helps you learn something new. It's a process, you know.
- Experiment with Tools: Try different pencils for sketching, outlining, and shading. See what feels best in your hand. You might find you like one type of pencil more than another, which is fine.
- Add Background: A simple background, like a few leaves or a hint of greenery, can make your hibiscus flower drawing stand out even more. Just a little something, you know.
- Take Breaks: If you feel frustrated, step away for a bit. Come back with fresh eyes. Sometimes, a short break helps you see things more clearly, honestly.
More Hibiscus Drawing Ideas to Try
Once you feel good about drawing a single hibiscus, there are many other ways to keep practicing and have fun. You can try drawing hibiscus flowers from different angles, for instance. Maybe one looking straight at you, or one from the side, you know.
You could also try drawing a hibiscus bud before it opens. These have a different, more closed shape, which is a fun challenge. Or, try drawing a cluster of hibiscus flowers on a branch. This lets you practice arranging multiple elements, you know.
There are also many varieties of hibiscus, some with ruffled petals or different numbers of petals. Look up pictures of various hibiscus types and try to draw them. This is a great way to learn simple techniques to sketch beautiful, colorful hibiscus blooms.
You can even find printable outlines online to trace and color. This is a good way to practice your coloring skills without worrying about the drawing part. Learn how to draw hibiscus with these 20 easy hibiscus drawing ideas with step by step simple sketch outline, printables and coloring pages. You can find more ideas and tips on drawing different kinds of flowers on our site. Learn more about flower drawing on our site, and link to this page for more drawing tips.
Your Next Steps in Hibiscus Flower Drawing
You have now learned how to create your own realistic hibiscus flower drawing, from the drawing steps right up to the coloring process. We went through how to draw, outline, and color. Remember, learning how to draw a hibiscus flower is easy and fun if you follow our simple process. Kids and beginners alike can now draw a great looking hibiscus, which is really cool.
The main thing is to keep practicing. Each time you pick up your pencil, you get a little better. Find out how to recreate this gorgeous flower by following along with me again, or try one of the new ideas. This is an easy approach to drawing flowers that is fun and simple! You've got this, you know.