Giving flowers is a really nice thing to do, yet, sometimes, a plain bunch from the store just does not quite look special enough. You want to make an ordinary bouquet of flowers appear expensive, right? Well, wrapping flowers is a very simple thing to do, and it truly makes them look like they came from a fancy florist shop. It is that little bit of effort that transforms a simple bunch into something truly remarkable, something that feels more like a carefully chosen present.
A quick tutorial can help you learn to wrap flowers in paper and make them beautiful to gift or even to sell. You know, learning how to wrap a flower bouquet transforms a simple gift into a stunning and thoughtful gesture, too. It is about making that presentation count, so the person getting the flowers feels extra special.
This comprehensive guide will walk you through the process of wrapping a bouquet of flowers like a professional, more or less. Whether you want to prepare a stunning gift for a loved one or simply make your grocery store flowers look like a million bucks, this easy method is for you. We will show you how to create and wrap flower bouquets that will stay fresh for a bit, too.
Table of Contents
- Gathering Your Supplies
- Preparing Your Flowers
- The Art of Wrapping
- Adding the Finishing Touches
- Tips for Keeping Flowers Fresh
- Troubleshooting Common Wrapping Issues
- Beyond the Basics: Creative Ideas
- FAQs about Wrapping Bouquets
Gathering Your Supplies
Before you begin to wrap the flowers, you will want to get all your materials together, naturally. Having everything ready makes the process much smoother, so you are not stopping and starting. It is really just about being prepared, you know.
What You'll Need
You will need a few basic items for this project. First, of course, you need the flowers themselves. Then, you will want some wrapping paper. Scissors are pretty important, too. You will also need some ribbon or twine to hold everything together. Sometimes, a little tape can be helpful, actually, especially when you are just starting out.
A water source, like a bucket or vase, is good to have nearby, just in case. You might also want a damp cloth for cleaning up any stray bits. Having all these items at hand helps the whole wrapping process go along nicely, sort of. It is about setting yourself up for success, that is what it is.
Choosing Your Paper
The type of paper you pick really changes the look of your wrapped bouquet, you know. Kraft paper gives a very rustic, earthy feel, which is pretty popular. Cellophane is clear and lets the flowers show through, which can be nice. Tissue paper adds softness and a bit of color, too. You can even use patterned paper for a more playful look, or something with a subtle texture.
Consider the occasion when picking your paper, honestly. For a birthday, a brighter, more fun paper might be good. For a more formal gift, perhaps a solid color or something with a very simple design is better. The paper should complement the flowers, not overshadow them, so. Think about the colors of your flowers and choose a paper that works well with them, more or less.
Preparing Your Flowers
Getting your flowers ready before you wrap them is a pretty big step. It makes sure they look their best and stay fresh for a while, too. A well-prepared bouquet just feels better in the hand, and it also looks much more appealing, you know.
Trimming Stems and Removing Leaves
First, you need to trim the stems of your flowers. Use sharp scissors or a floral knife to cut them at an angle, like so. This helps the flowers take up water better, which is pretty important for keeping them fresh. Remove any leaves that would fall below the water line in a vase, too. These leaves can rot in the water and create bacteria, which is not good for the flowers at all.
Make sure to remove any damaged or yellowing leaves as well, just a little. This tidies up the bouquet and makes it look healthier and more vibrant. A clean stem line also helps the wrapping sit better around the flowers. It is a small step, but it makes a pretty big difference, honestly.
Arranging Your Bouquet
Now, arrange your flowers into the shape you want, basically. Hold them in your hand and turn them, seeing how they fit together. You can make a round, domed shape or a more natural, flowing one. Place the taller flowers in the middle and shorter ones around the edges, generally. Some people like to spiral the stems as they arrange, which gives a nice, neat bundle at the bottom.
Try to keep the flowers fairly compact at the base where you will hold them, you know. This makes wrapping much easier. If the bouquet is too loose, it will be harder to manage with the paper. Take your time with this part, as it sets the foundation for the whole wrapped look. You are creating the overall shape here, after all.
The Art of Wrapping
This is where the real fun begins, actually. Wrapping flowers is easy once you get the hang of it, whether you want a simple look or something more elaborate. The goal is to make your wrapped flowers look like they came from a florist shop, so.
Laying Out Your Paper
Take your chosen wrapping paper and lay it out on a flat surface. You will want a piece that is big enough to cover your bouquet, with some extra for folding. For most standard bouquets, a square or rectangular piece works well, more or less. If you are using multiple layers of paper, stack them neatly, slightly offset if you want to show different colors or textures.
Position the paper so one corner points towards you, creating a diamond shape. This angle helps create the classic florist wrap look. Make sure your surface is clean and dry, too. Any moisture could damage the paper, which is something you definitely want to avoid.
First Fold: The Base
Place your arranged bouquet onto the paper, roughly in the middle of the top half of the diamond, kind of. The flower heads should be above the top edge of the paper, and the stems should extend down towards the bottom corner. Now, take the bottom corner of the paper and fold it up over the stems, basically. You want it to cover the very bottom of the flower heads and the top part of the stems.
This fold creates a base for your bouquet, giving it support. It should be snug but not too tight, you know. Smooth out any wrinkles as you fold. This initial fold is pretty important for how the rest of the wrap will sit, so take a moment to get it right.
Second Fold: The Side
Now, take one of the side corners of the paper, either the left or the right, it does not really matter. Bring it across the bouquet, folding it over the stems and the first fold. You want this fold to wrap around the bouquet, creating a cone shape around the stems, sort of. Tuck it in snugly against the flowers, but again, not too tight.
Repeat this step with the other side corner, bringing it across and overlapping the first side fold. This creates a neat, enclosed wrap around the stems, making them look very tidy. These quick tips will have your grocery store flowers looking like a million bucks, honestly. It is all about those smooth, overlapping layers, you know.
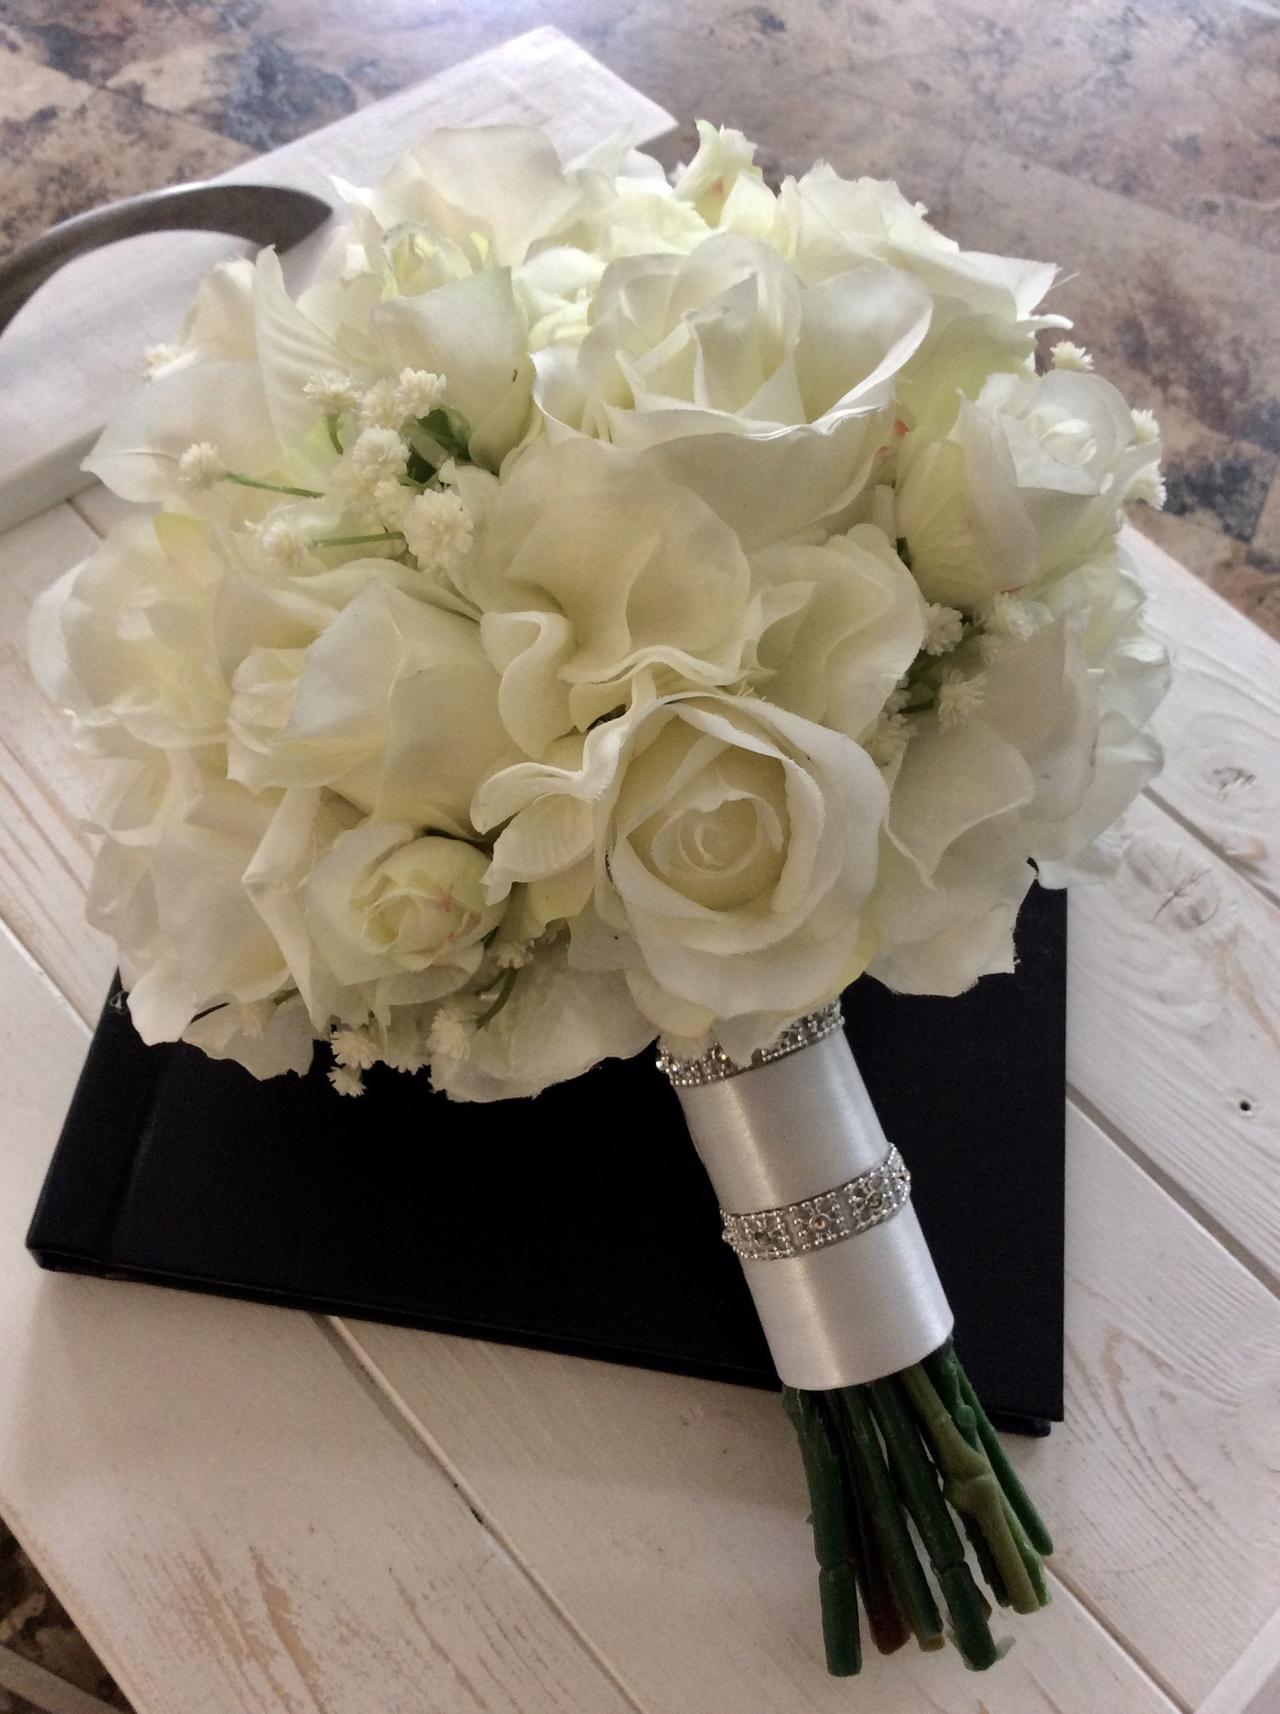
Securing Your Wrap
Once you have both sides folded over, hold the wrap firmly at the base of the flower heads. This is where your ribbon or twine comes in, naturally. Take a piece of ribbon and tie it around the wrapped stems, just below where the paper ends. Tie a neat knot or a bow to secure it really well. You want it tight enough to hold the paper in place, but not so tight that it damages the stems, obviously.
If you are worried about the paper slipping, you can use a small piece of clear tape on the inside of the folds before tying the ribbon, just a little. This provides an extra bit of security. Your wrapped flowers will look like they came from a florist shop, truly. It is a simple yet effective way to elevate the presentation of any bouquet, making it more visually appealing and special, so.
Adding the Finishing Touches
The wrap itself is pretty good, but a few extra touches can really make your bouquet shine. These small additions show you put thought into the gift, you know. It is about making the whole package feel complete and special, kind of.
Ribbons and Twine
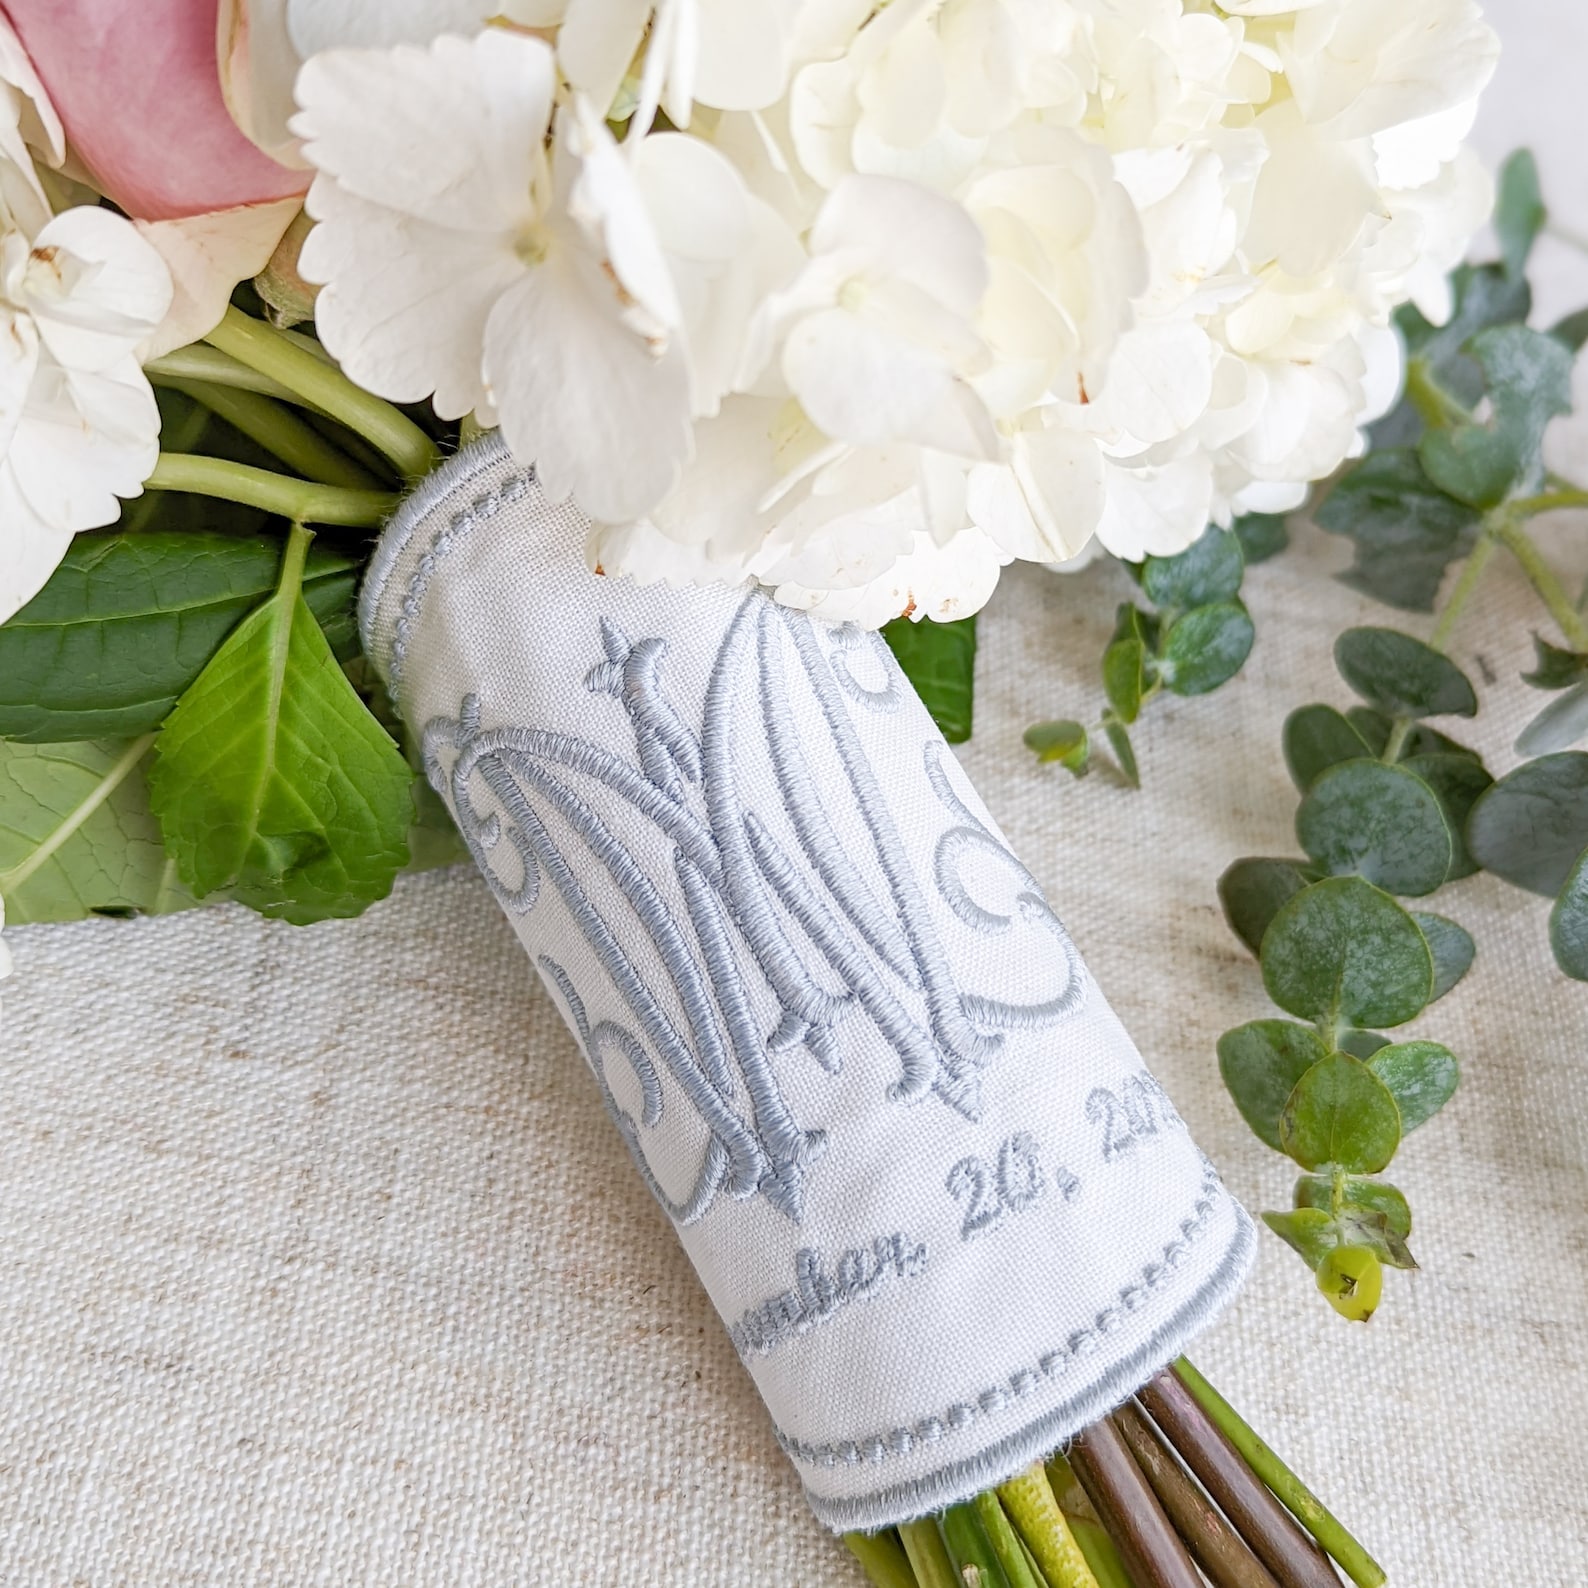
The ribbon or twine you use to secure the wrap can also be a decorative element. Choose a color that complements your flowers and paper, obviously. You can use a simple satin ribbon for an elegant look, or rustic twine for a more natural feel. You could even layer two different types of ribbon for added texture and visual interest, which is pretty neat.
Tie a pretty bow, or just a simple knot if you prefer. Some people like to let the ends of the ribbon hang long for a more flowing look. You can also curl the ends of satin ribbon with scissors for a playful touch. It is a small detail, but it really adds a lot to the overall appearance, honestly.
Personal Notes and Tags
A handwritten note or a small gift tag makes the bouquet truly personal, you know. You can attach it to the ribbon or tuck it into the folds of the paper. This is where you can add a heartfelt message, a simple "thank you," or a "happy birthday." It shows you care, which is really what a gift is all about.
You can buy pre-made tags or make your own from cardstock. Decorate them with a stamp or a little drawing if you like. This tiny addition takes your wrapped bouquet from just pretty to truly thoughtful, so. It is a very nice way to finish things off, more or less.
Tips for Keeping Flowers Fresh
Knowing how to wrap a bouquet of flowers perfectly is one thing, but keeping them looking great after wrapping is another, you know. You want your beautiful gift to last, after all. These simple tips will help your flowers stay vibrant for longer, which is pretty important.
Water and Hydration
Even after wrapping, flowers still need water, obviously. If you are giving the bouquet immediately, it might be okay for a short while without water. But for longer transport or if there will be a delay, consider adding a small, damp paper towel around the very ends of the stems, secured with a rubber band, just a little. This provides a bit of moisture. Alternatively, you could place the wrapped bouquet in a vase of water until it is ready to be presented, too.
Once the recipient gets the flowers, they should unwrap them and place them in fresh water right away. Suggest they re-trim the stems at an angle before putting them in the vase. This helps the flowers drink better and stay hydrated. You can find more flower care tips to share with them, too.
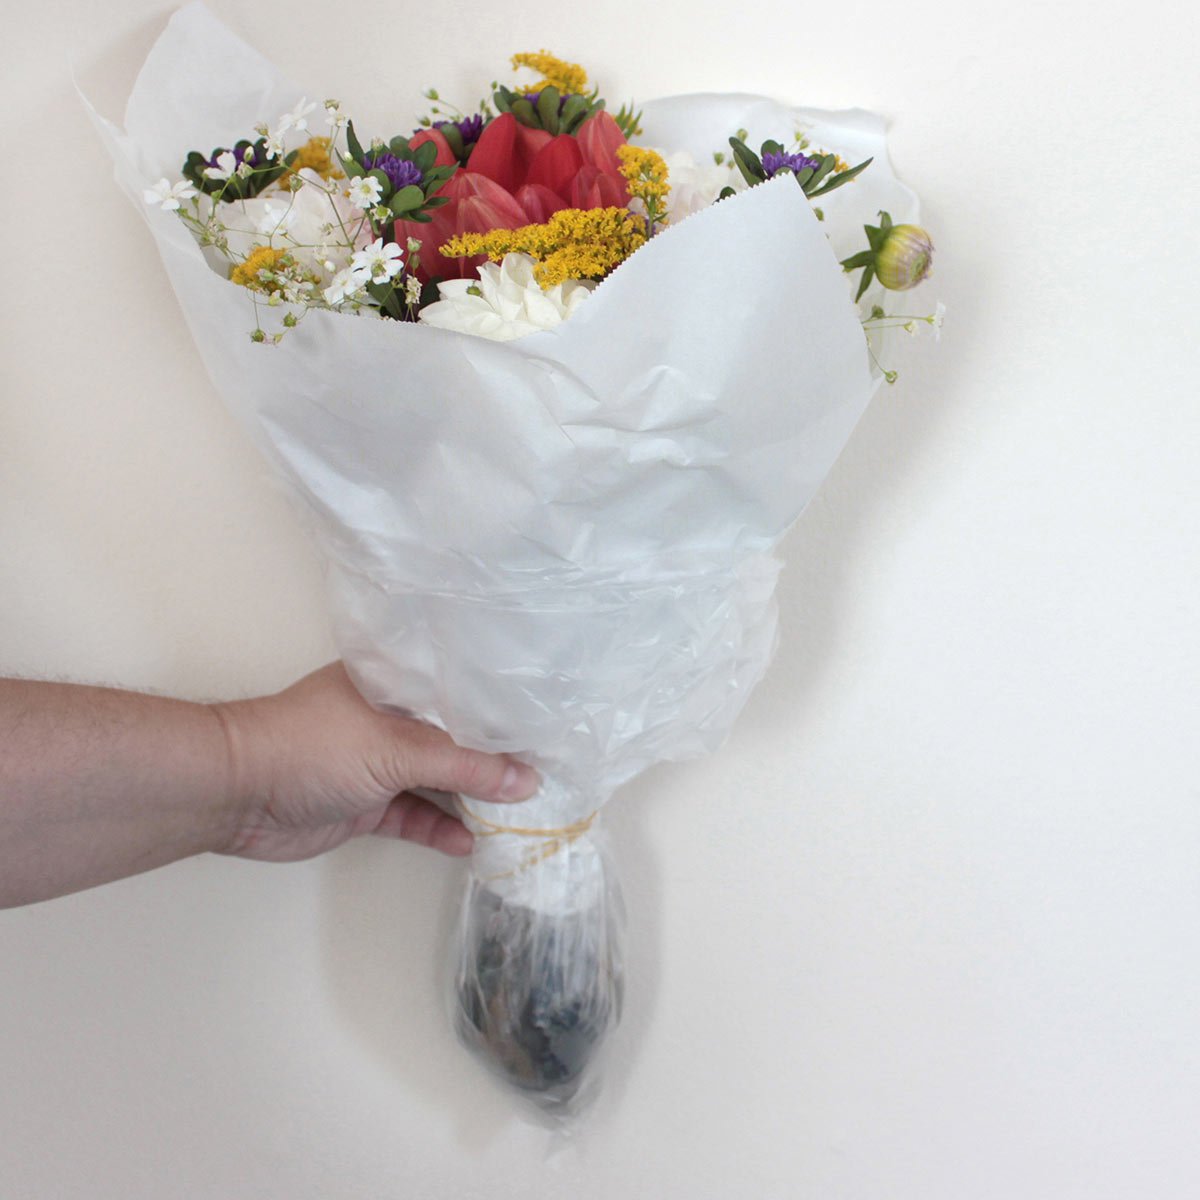
Transporting Your Wrapped Bouquet
When you are moving your beautifully wrapped bouquet, you want to protect it, naturally. Carry it upright to prevent the flowers from getting squashed or damaged. If you are traveling by car, place it in a bucket or a sturdy bag to keep it from tipping over. You could also put it on the passenger seat with the seatbelt loosely around it, which is pretty clever.
Avoid placing the bouquet in direct sunlight or in a very hot car, honestly. Extreme temperatures can wilt the flowers very quickly. If it is cold outside, protect them from freezing temperatures with an extra layer of paper or a bag. Thinking about how you will get the bouquet from point A to point B is pretty important for its freshness, so.
Troubleshooting Common Wrapping Issues
Sometimes, things do not go exactly as planned, you know. Learning how to wrap a bouquet of flowers can be hard for some people at first, but in this article, you will learn an easy method. Even with easy methods, little problems can pop up. Do not worry, these are usually simple to fix, so.
Paper Tears
If your paper tears while you are wrapping, it can be a bit frustrating, honestly. Usually, this happens if the paper is too thin or if you are pulling too hard. For thin paper, try using two layers instead of one. If it tears during the process, you can sometimes mend it with a small piece of clear tape on the inside, where it will not show, just a little. Or, you could simply start with a fresh piece of paper, which is often the easiest solution.
To prevent tears, be gentle as you fold and secure the paper. Make sure your hands are dry, too, as moisture can weaken paper. It is about being patient and not forcing the paper into place, more or less. Remember, practice makes perfect, truly.
Loose Wrap
A loose wrap means the paper is not holding the flowers snugly, and it might look a bit messy, you know. This usually happens if you did not pull the paper tight enough during the folding steps. The key is to make sure each fold is pulled taut against the stems before you move to the next step. When you tie the ribbon, pull it tight enough to secure everything firmly in place, but not so tight that it squishes the stems, obviously.
If your wrap feels loose after tying, you can sometimes re-tie the ribbon a bit tighter. Or, if it is very loose, you might need to unwrap and start over, paying closer attention to keeping the paper snug against the bouquet. It is all about that firm, yet gentle, hold, you know.
Uneven Appearance
Sometimes, the wrapped bouquet might look lopsided or uneven, kind of. This can happen if the bouquet itself was not arranged evenly to begin with, or if the paper was not centered properly. Before you start wrapping, take a moment to really check your flower arrangement from all sides. Make sure it looks balanced, you know.
When placing the bouquet on the paper, ensure it is truly centered. As you fold, try to keep the tension even on both sides. If one side looks a bit off, you might be able to gently adjust the paper or the flowers slightly before tying the ribbon. With a bit of practice, you will find it easier to create a perfectly balanced and pretty wrap every time, so.
Beyond the Basics: Creative Ideas
Once you are comfortable with the basic how to wrap a bouquet method, you can start to get really creative. Wrapping flowers is a simple yet effective way to elevate the presentation of any bouquet, making it more visually appealing and special, you know. There are many ways to make your wrapped flowers truly unique, too.
Layering Different Materials
Do not feel limited to just one type of paper, honestly. Try layering different materials for a richer look. For example, you could start with a layer of clear cellophane closest to the flowers for protection, then add a layer of kraft paper for structure, and finish with a delicate layer of tissue paper for softness. The contrast in textures can be really striking, too.
You can also mix in fabric, like a piece of burlap or lace, for an extra touch of elegance or rustic charm. Just make sure the materials are not too bulky, so they still wrap neatly. Experimenting with different combinations can lead to some really beautiful and unique results, so. It is about adding depth to your design, more or less.
Adding Embellishments
Beyond just ribbon, you can add all sorts of little embellishments to your wrapped bouquet. Think about attaching a small dried flower or a sprig of dried lavender to the ribbon. A tiny charm or a decorative button could also be