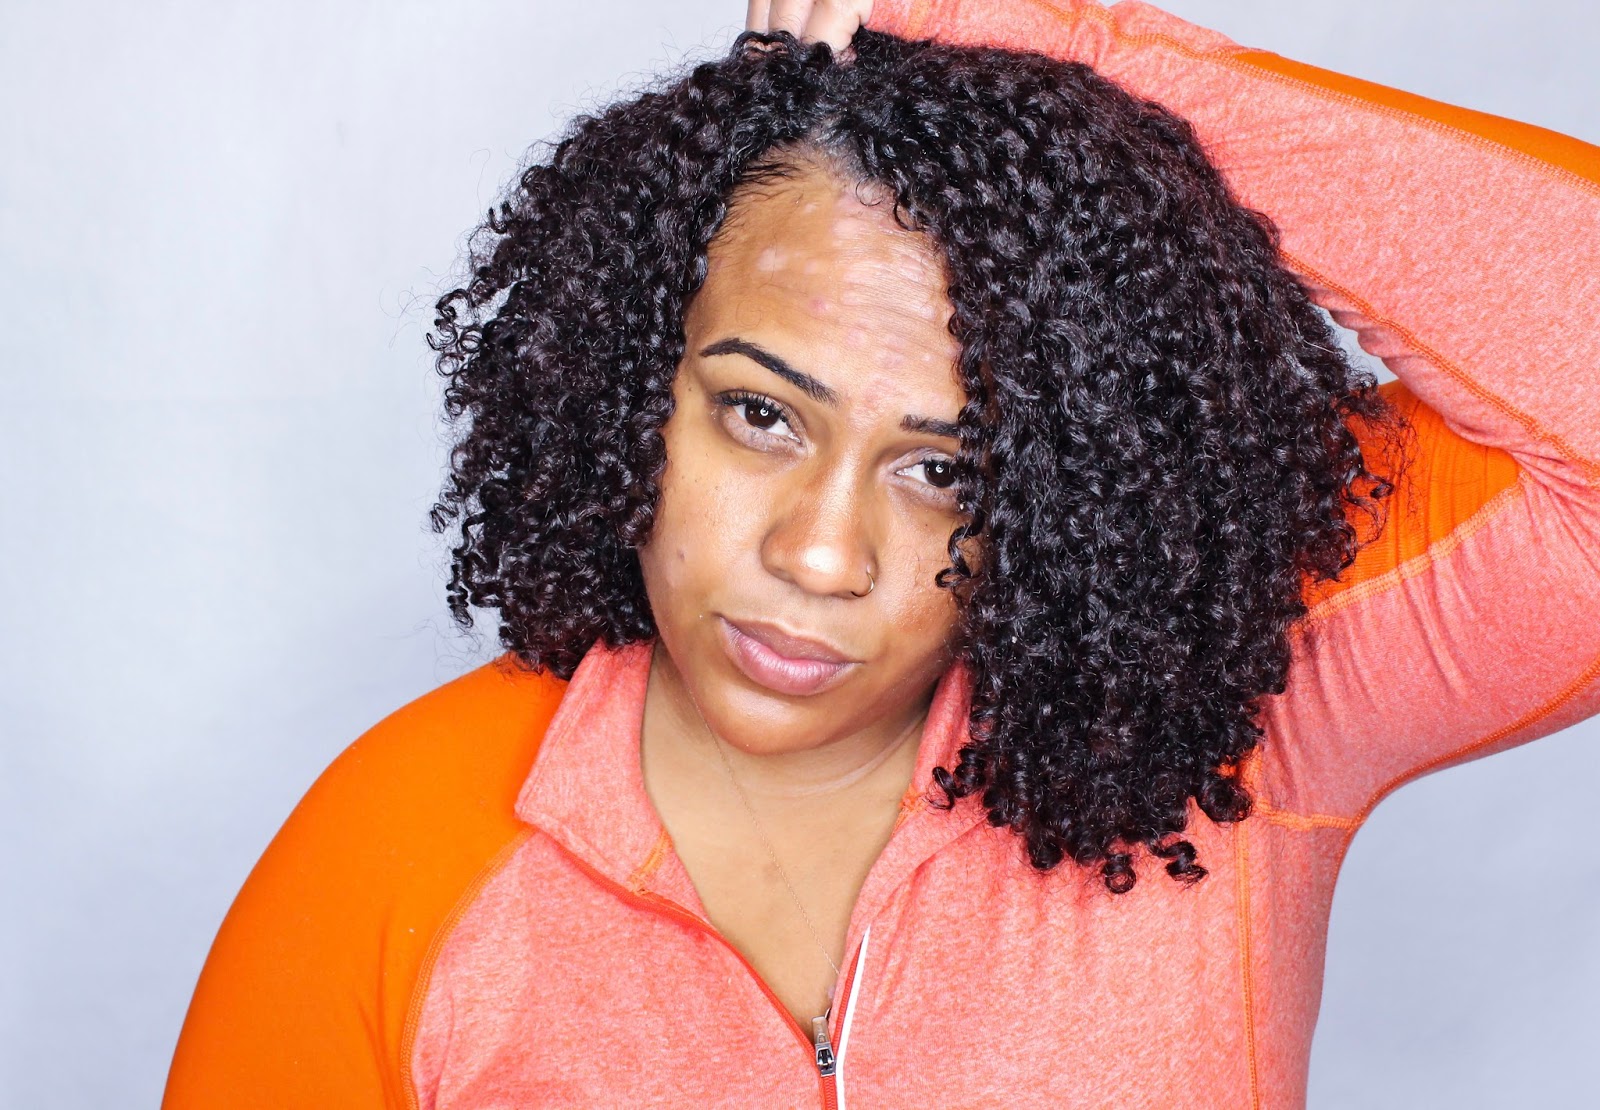
Have you ever looked at your straightener and thought, "Is that, you know, just for making hair straight?" Well, get ready for a pleasant surprise! That very tool sitting on your vanity, the one you use to smooth things out, actually holds a secret talent. It's truly a versatile styling friend, capable of creating beautiful, flowing curls and relaxed waves that might just make you put your curling iron away for a bit. So, if you've been wanting to try a new look or simply don't own a traditional curling wand, this is for you.
Many people think you need a dedicated curling iron to get those lovely spirals, but that's simply not the case. Your trusty flat iron, with a little practice and the right approach, can do wonders for your hair. It’s a bit like learning a new skill, isn't it? You might feel a little awkward at first, but once you get the hang of the movement, it becomes second nature, and you'll be styling like a pro in no time.
This guide will walk you through everything you need to know, from getting your hair ready to making those curls last all day. We'll cover different techniques for various curl types, and you'll find plenty of practical advice to help you avoid common mistakes. You'll learn how to curl with a straightener and, very importantly, do it safely and effectively, too.
Table of Contents
- Getting Your Hair Ready: The Foundation for Great Curls
- Choosing the Right Straightener for Curling
- Finding the Perfect Temperature Setting
- The Basic Technique: How to Create Classic Curls
- Different Curl Styles You Can Achieve
- Troubleshooting Common Straightener Curl Issues
- Extra Tips for Stunning Results
- Safety First: Protecting Your Hair
- Frequently Asked Questions About Curling with a Straightener
- Wrapping Up Your Curling Journey
Getting Your Hair Ready: The Foundation for Great Curls
Before you even plug in your straightener, getting your hair ready is, you know, pretty important. Clean, dry hair works best. Make sure your hair is completely dry, because using heat on damp hair can cause damage and just won't give you the curl you want. You might think it's okay to curl hair that's a little wet, but honestly, it's not worth the risk to your strands.
Next, apply a good heat protectant. This is non-negotiable, really. Heat tools can be quite harsh on your hair, and a protectant creates a shield, keeping your hair safe from potential damage. Spray it evenly from roots to ends, then gently comb it through to make sure every strand is covered. This step is a bit like putting on sunscreen before going out in the sun; it's a simple precaution that makes a big difference for your hair's health, actually.
If your hair tends to be on the finer side, a volumizing mousse or a texturizing spray applied before drying can give your curls some extra grip and staying power. For hair that's a little thicker or naturally smooth, a light hold hairspray can be used before curling each section to help set the curl. This is, in a way, like giving your hair a little extra scaffolding to hold its new shape.
Choosing the Right Straightener for Curling
Not all straighteners are made equal when it comes to curling. The best ones for creating curls usually have plates with rounded edges. If your straightener has very sharp, square edges, it's more likely to leave those annoying kinks in your hair. A straightener with slightly curved plates or a slim, rounded barrel is much easier to maneuver and helps create a smooth, continuous curl. So, you might want to check the shape of your tool.
The size of the plates matters too. For shorter hair or tighter curls, a narrower plate (around 1 inch) works really well. If you have longer hair or want looser, more relaxed waves, a wider plate (1.25 to 1.5 inches) can speed up the process and give you that softer look. It's almost like choosing the right brush for a painting; the tool needs to fit the job you're doing, you know?
Consider the material of the plates, too. Ceramic or tourmaline plates distribute heat more evenly, which is gentler on your hair and helps prevent hot spots that can cause damage. Titanium plates heat up very quickly and maintain high heat, making them good for thick or coarse hair, but they can be a bit too intense for fine or damaged hair. So, picking the right material is, in some respects, pretty important for your hair's well-being.
Finding the Perfect Temperature Setting
This is a big one, perhaps one of the most crucial steps for healthy, lasting curls. Using too much heat can fry your hair, while too little heat won't set the curl. The ideal temperature depends on your hair type, actually. For fine, damaged, or chemically treated hair, aim for a lower setting, something around 250-300°F (120-150°C). You want to be gentle with those delicate strands, right?
If your hair is of medium thickness or has a normal texture, a range of 300-350°F (150-175°C) is often a good starting point. For thick, coarse, or very curly hair that's hard to style, you might need to go a bit higher, perhaps 350-400°F (175-200°C). However, never go above 400°F (200°C) if you can help it, as this is where serious damage can start to happen, you know?
A good way to find your perfect temperature is to start low and gradually increase the heat until you achieve the desired curl with just one pass. It's a bit of an experiment, really. Test a small section of hair underneath, where it's not visible, to see how it responds. If you see steam or hear sizzling, your temperature is too high. Adjust it down immediately. Remember, the goal is to style effectively without causing harm, so a little patience here pays off big time.
The Basic Technique: How to Create Classic Curls
Once your hair is prepped and your straightener is at the right temperature, you're ready to start curling. This basic method will give you lovely, consistent curls. It's a process that takes a little coordination, but you'll get the hang of it pretty quickly, you know?
Sectioning Your Hair for Success
Start by sectioning your hair. This makes the process much more manageable and ensures you don't miss any spots. Divide your hair into horizontal sections, starting from the bottom, near your nape. Clip the rest of your hair up and out of the way. Work with small sections, typically 1 to 2 inches wide, depending on how tight or loose you want your curls. Smaller sections generally give you a more defined curl, while larger sections create a softer wave. This is, basically, like organizing your workspace before a big project.
The Right Angle and Twist
Take one small section of hair. Open your straightener and clamp it onto the hair about an inch or two away from your roots. The exact distance from the root depends on where you want the curl to start. For volume at the root, clamp closer. Now, here's the key: once clamped, turn the straightener 180 degrees (half a turn) away from your face. This creates the initial bend that forms the curl. It's a bit like turning a key in a lock, you know?
Smooth Gliding for Perfect Curls
With the straightener twisted, slowly and smoothly glide it down the length of your hair, all the way to the ends. Maintain a consistent, steady pace. Don't stop or hesitate, as this can create those dreaded kinks. The slower you glide, the more defined the curl will be. If you glide faster, you'll get a looser wave. As you reach the end of the hair section, gently release the straightener. You should see a beautiful, warm curl form. Let it cool completely before touching it, as cooling helps set the curl. This is, in a way, the most satisfying part, watching the curl appear.
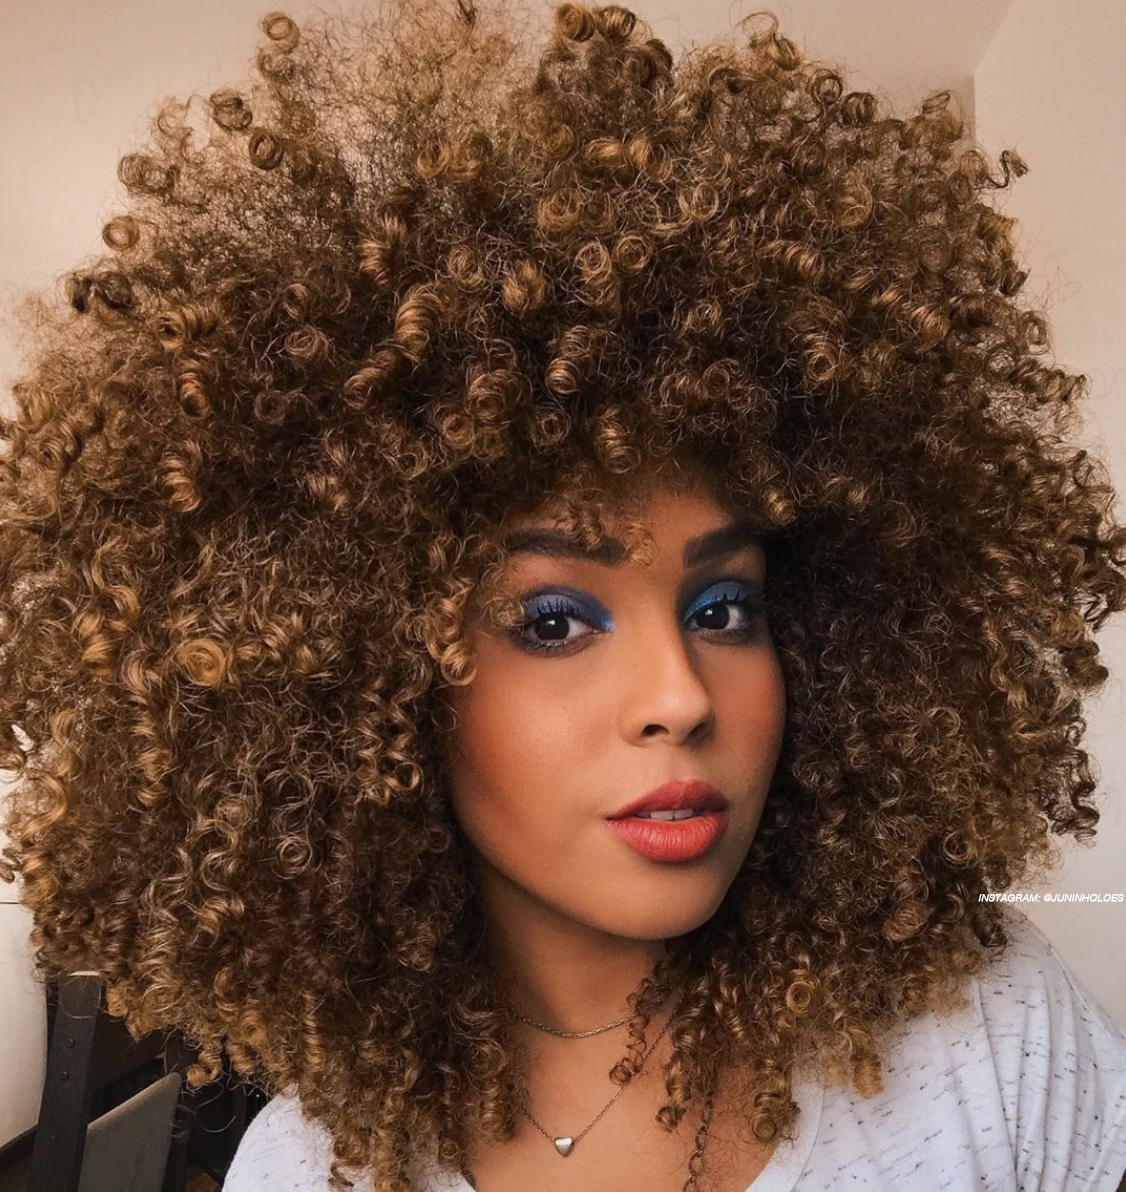
Different Curl Styles You Can Achieve
Your straightener is surprisingly versatile. You can create a variety of curl styles just by adjusting your technique slightly. It's really quite amazing what one tool can do, actually.
Effortless Beach Waves
For those popular, relaxed beach waves, you'll want to use a slightly different motion. Instead of a continuous 180-degree twist, try an S-bend technique. Clamp your straightener near the root, then gently rock the straightener back and forth, creating an S-shape as you glide down the hair. You're basically creating alternating bends in the hair rather than a full spiral. Also, you can leave the very ends of your hair out of the straightener for a more natural, undone look. This gives a very casual, cool vibe, you know?
Soft, Loose Curls
To get soft, loose curls, use larger sections of hair (around 2 inches wide). Clamp your straightener a bit further down the hair shaft, perhaps 3-4 inches from the root, and make a slower, smoother 180-degree turn. Glide the straightener down the hair at a moderate pace. The larger section and slightly slower glide will result in a softer, more voluminous curl rather than a tight ringlet. This style is, in some respects, perfect for everyday wear, giving a gentle bounce.
Tighter, Bouncier Curls
If you're aiming for more defined, bouncier curls, work with smaller sections of hair, about 1 inch wide or less. Clamp the straightener closer to the root, and make a full 360-degree rotation (or even more, up to 540 degrees if your straightener allows for multiple twists) as you slowly glide down the hair. The smaller sections and more intense rotation will give you a tighter, more compact curl. Remember to hold the curl in your hand for a few seconds after releasing it to help it set, too.
Troubleshooting Common Straightener Curl Issues
Even with the right technique, you might run into a few common issues. Don't worry, these are usually easy to fix. It's just part of the learning process, you know?
Dealing with Kinks and Creases
Those dreaded kinks are usually caused by stopping or hesitating while gliding the straightener down the hair. To avoid them, ensure your glide is smooth and continuous from start to finish. Also, check the edges of your straightener; if they're very sharp, they can sometimes cause kinks. Another reason could be clamping the straightener too tightly at the beginning. Try a gentler grip. If you do get a kink, you can often fix it by taking that section of hair, clamping the straightener over the kink, and very quickly gliding it through again, just to smooth it out. It's almost like erasing a mistake, you know?
Making Your Curls Last Longer
If your curls are falling flat too quickly, there are a few things you can try. First, make sure your hair is completely cool before you touch or brush the curls. As they cool, they set. You can even gently pin each fresh curl up to your scalp with a small clip or bobby pin immediately after curling, letting it cool completely in that coiled shape. This is called "pinning the curl" and it really helps with longevity. Apply a flexible hold hairspray after all curls have cooled and been released. Avoid heavy hairsprays that can weigh down the curls. Sometimes, a texturizing spray or dry shampoo can also give curls extra grip and volume. Learn more about hair care techniques on our site, too.
When Curls Fall Flat
Curls falling flat can also be due to not enough heat (especially for thick hair), too much product (weighing hair down), or not enough hold product. Revisit your temperature setting and consider if your hair needs a slightly higher heat. Also, ensure you're working with clean hair; oily hair tends not to hold a curl well. If your hair is naturally very straight or fine, it might need a little extra help. Try using a volumizing mousse before drying, or a light hairspray on each section before curling. For some hair types, it's just a little harder to hold a curl, you know?
Extra Tips for Stunning Results
Here are a few more pointers to help you master the art of straightener curls and get results that truly shine.
- Curl Away from Your Face: For a flattering, open look, always curl the sections of hair around your face away from your face. This helps frame your features nicely. For the back sections, you can alternate directions for a more natural, messy look, or continue curling away from your face for a consistent bounce.
- Don't Overdo It with Product: While products help, too much can weigh down your curls, making them look greasy or stiff. A little goes a long way. Start with a small amount and add more if needed.
- Let Curls Cool Completely: This cannot be stressed enough. Hot hair is malleable; cool hair holds its shape. Resist the urge to touch, brush, or comb your curls until they are completely cool.
- Finish with a Light Brush or Fingers: Once your curls are cool, gently run your fingers through them to break them up for a softer, more natural look. For beach waves, a wide-tooth comb or a soft brush can also be used very lightly to blend the curls. This creates that effortless, undone vibe.
- Consider Your Hair Length: For very short hair, a narrow straightener is essential. For long hair, you might want to work in larger sections to save time, or use the pinning method to ensure curls hold their weight.
- Practice Makes Perfect: Your first attempt might not be salon-perfect, and that's totally okay. Like any new skill, curling with a straightener takes practice. The more you do it, the more comfortable and efficient you'll become. Just keep trying, and you'll get there, really.
- Clean Your Straightener: Over time, product buildup can accumulate on your straightener plates, which can affect its performance and even snag your hair. Regularly wipe down the plates with a damp cloth (when the tool is unplugged and cool, of course) to keep it in top shape.
- Use a Mirror: A good mirror setup, perhaps with a handheld mirror, can help you see the back sections of your hair, making it easier to curl evenly.
- Protect Your Hair Overnight: To extend the life of your curls, try sleeping on a silk pillowcase or wrapping your hair in a loose bun on top of your head. This helps prevent frizz and keeps the curls from getting squashed.
Safety First: Protecting Your Hair
Working with hot tools always requires a focus on safety. Your hair's health is, you know, paramount. Always apply a heat protectant before you start. This creates a barrier against the intense heat, minimizing damage. Also, make sure your hair is completely dry before using any hot tool. Using a straightener on damp or wet hair can essentially boil the water inside your hair strands, causing serious breakage and frizz. This is, in a way, one of the most important rules to remember.
Never leave a hot straightener unattended, not even for a moment. Always place it on a heat-resistant surface, like a heat mat or a designated counter space, away from anything flammable. And when you're done, unplug it immediately and let it cool down completely before storing it away. It's a bit like turning off the stove after cooking, just common sense, right? Also, be mindful of where your fingers are; the plates get incredibly hot. Holding the cool tip of the straightener, if it has one, can give you better control and prevent accidental burns. You can find more general hair care advice and tips on how to keep your locks healthy by visiting this page, too.
Frequently Asked Questions About Curling with a Straightener
Here are some common questions people ask about using a straightener for curls, you know, the kind of things that pop up when you're trying something new.
Is it bad to curl with a straightener?
No, it's not inherently bad to curl with a straightener, provided you use it correctly and prioritize hair health. The key is to use a heat protectant every single time, choose the right temperature for your hair type, and avoid going over the same section of hair multiple times. If you follow these guidelines, your straightener can be a perfectly safe and effective tool for creating beautiful curls without causing undue damage. It's all about technique and care, really.
What kind of straightener is best for curling?
The best straighteners for curling typically have rounded edges, rather than sharp, square ones. This helps prevent kinks and allows for a smoother, more continuous curl. A plate size between 1 inch and 1.25 inches is often ideal for versatility, working well for both tighter curls and looser waves. Look for ceramic or tourmaline plates, as they offer even heat distribution, which is gentler on your hair. Some straighteners even have slightly curved barrels specifically designed to make curling easier, too.
How do you make straightener