Have you ever looked at a hibiscus flower, perhaps one with its big, open petals and bright colors, and just wished you could capture that beauty on paper? It’s a pretty common thought, actually. Getting started with a new drawing can feel a bit much, you know, like where do you even begin? But honestly, learning how to draw a hibiscus flower doesn't have to be a big deal at all. It can be quite easy and really enjoyable, especially if you follow a straightforward approach.
We’re going to walk you through everything, from the very first lines you put down, to adding those crisp outlines, and then, of course, bringing it all to life with color. You don't need any special art supplies, just a pencil, some paper, and, well, a little bit of patience. That’s pretty much it, so you can start right away.
Imagine creating your very own realistic hibiscus flower drawing, starting from the first drawing steps all the way to the coloring part. It’s a fantastic way to practice making lovely floral designs, and you’ll pick up simple ways to sketch beautiful, colorful hibiscus blooms. Today, for instance, we’re focusing on making this process as smooth as possible for you.
Table of Contents
- Why Draw Hibiscus?
- Getting Started: What You Need
- The Simple Process: Step-by-Step
- Two Styles: Simple Versus Realistic
- Tips for Success
- Frequently Asked Questions About Hibiscus Drawing
- Ready to Create Your Own Hibiscus Masterpiece?
Why Draw Hibiscus?
Hibiscus flowers, with their famously big, pretty petals and bright colors, are a real joy to look at. They just pop, you know? Drawing them offers a wonderful chance to practice creating stunning floral designs, which is why so many people really enjoy it. It’s more or less a classic subject for artists of all skill levels, offering a lot of room for personal expression.
You get to explore different shapes and how light plays on petals. It’s a calming activity, too, and a nice way to spend some quiet time. Plus, you end up with something beautiful that you made yourself, which feels pretty good, honestly. It’s a good way to improve your hand-eye coordination and observation skills, too, if that’s something you’re interested in.
Getting Started: What You Need
You might think you need a whole art studio setup to start drawing something as lovely as a hibiscus, but that's really not the case. We’re talking about very simple tools here. You just need a pencil, some paper, and a little patience. That's it, honestly. No fancy tools needed at all.
Any basic pencil will do the trick, and any kind of paper you have lying around is fine for practice. The main thing is to just get started. You could even use a pen if you feel a bit more confident, but a pencil lets you make changes easily, which is usually helpful. So, grab those few things, and let's get ready to put them to good use, okay?
The Simple Process: Step-by-Step
This is where the fun really begins. We’re going to break down how to draw a hibiscus into steps that are super easy to follow. You’ll see how simple it can be to sketch these beautiful flowers, right from the first line. It’s all about taking it one small bit at a time, you know, not trying to do everything at once.
Each step is detailed, so you can really get a feel for what to do. You’ll be creating your own hibiscus in no time. We’ll show you how to draw, outline, and color, which covers pretty much everything you need. So, let’s get into the details of putting pencil to paper, shall we?
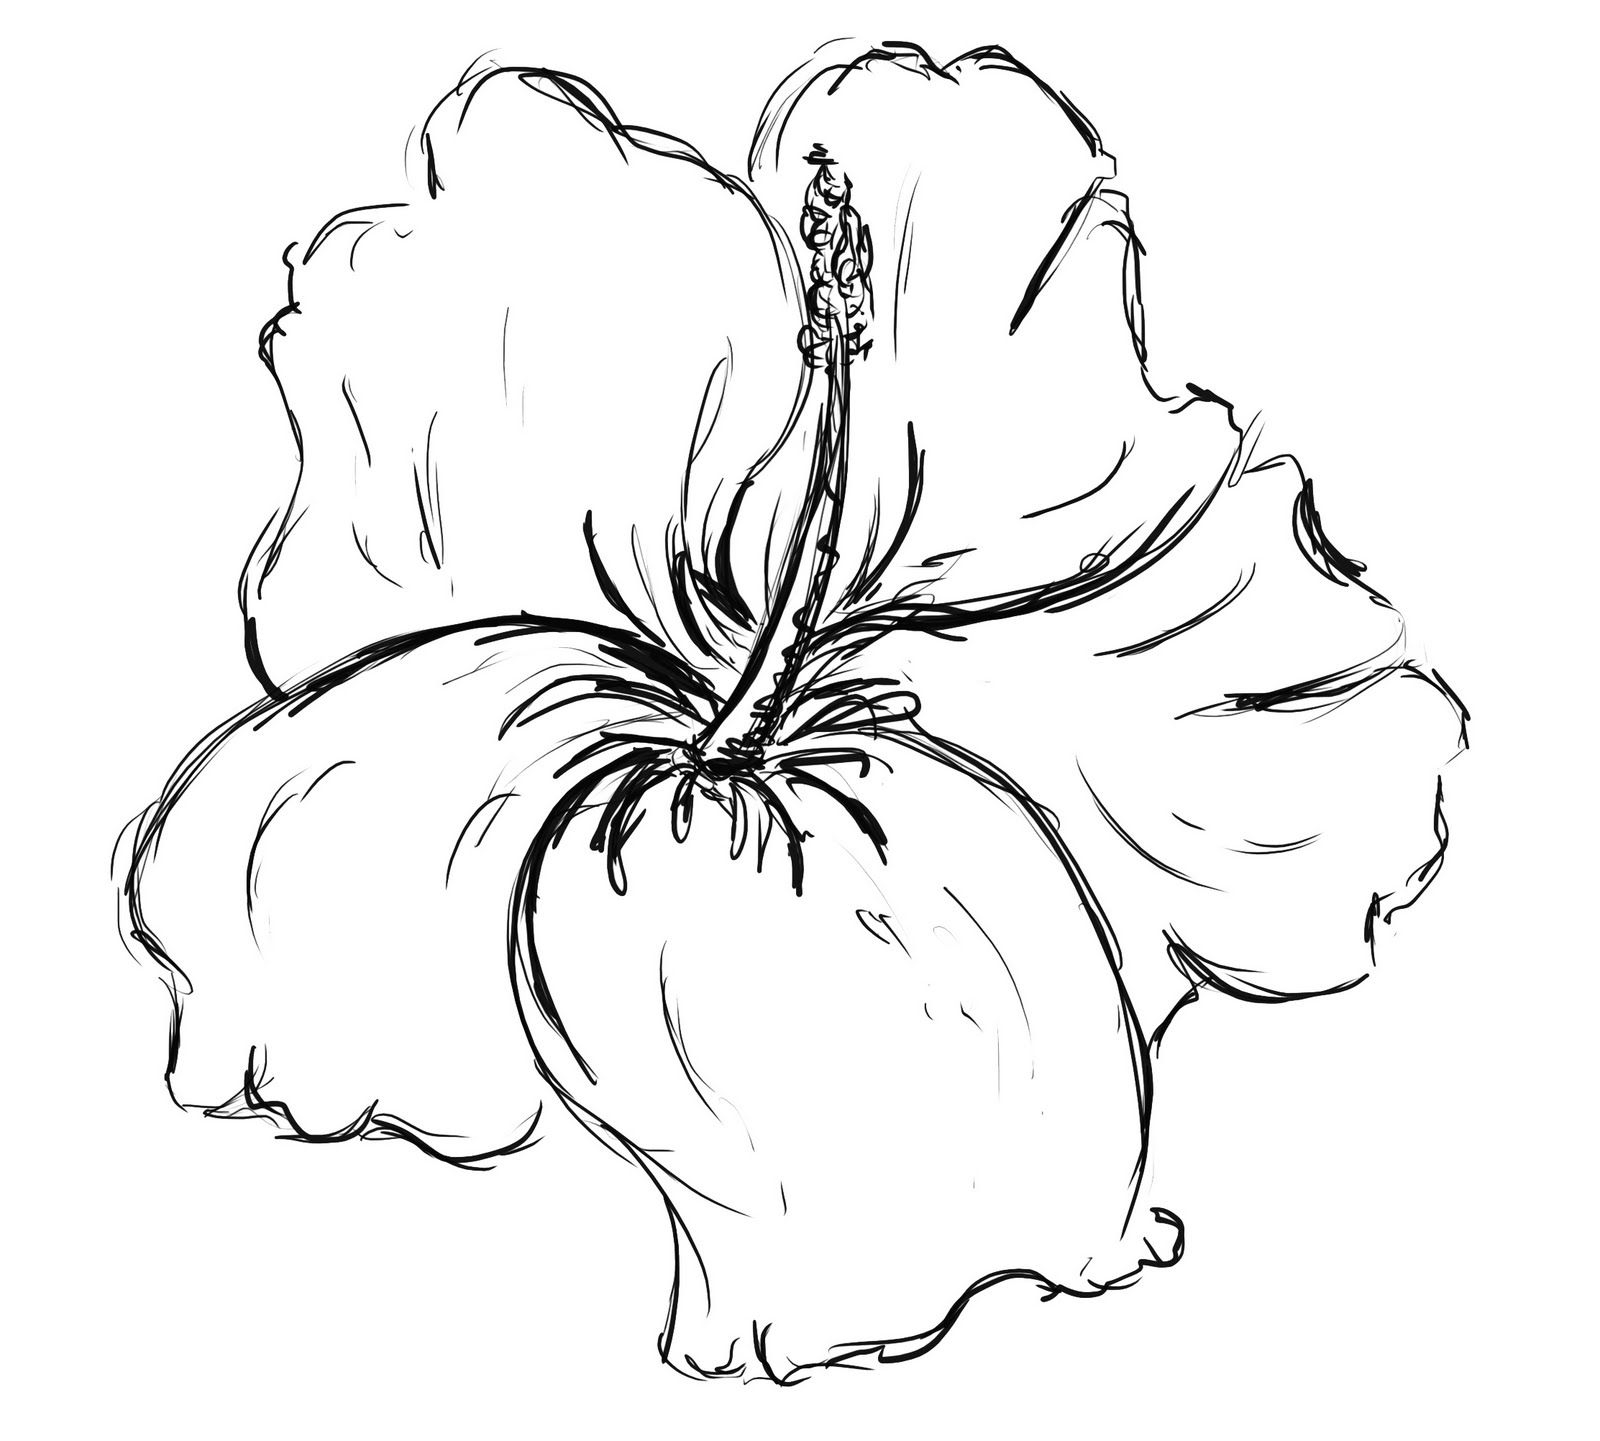
Starting with Petals
The very first step in our guide on how to draw a hibiscus is to start with two petals for the flower. Think of them as the initial framework, a kind of starting point for the whole bloom. You want to make them flow, like they're naturally reaching out. This sets the stage for everything else that comes next, so take your time with these first few lines, perhaps just a little bit more care than you might think.
At the center of where these petals meet, you'll eventually have the middle part of the flower. For now, just focus on getting those first two shapes down. They don't have to be perfect, because, well, drawing is about practice and getting better with each try. You’ll find that even these early lines contribute to the overall feeling of the flower, which is pretty cool.
Building the Flower
Once you have those first two petals, you can start adding more around them, building up the full shape of the hibiscus. Think about how real petals overlap and curve. You’re essentially creating a layered look, which gives the flower its fullness. It’s about adding more curved lines, slowly, to give it that natural appearance.
As you add more petals, remember the center. That's where all the petals seem to come from, and it’s where the stamen will eventually be. You’re just sketching out the general forms right now, getting the proportions more or less right. It’s like putting together a puzzle, piece by piece, until you see the whole picture take shape, you know?
Outlining and Refining
After you have the basic petal shapes down, the next part is to go over your sketch with an outline. This helps to make your hibiscus drawing really stand out. You’ll use a curved line to define the edges of each petal, making them clear and distinct. This step is about cleaning up your initial sketch and making the lines more definite.
If you're aiming for a simpler, less detailed style, this tutorial shows how to draw a hibiscus using fewer guidelines and simpler shapes. It uses minimal detail, making it pretty easy to get a good result quickly. You’ve made it through our comprehensive hibiscus flower drawing tutorial, and by now, you should have a beautiful drawing and a better understanding of how to use a curved line to really make things pop. It’s actually quite satisfying to see your lines become so clean, you know?
Adding Color
Once your outline is complete, it's time to bring your hibiscus to life with color. Hibiscus flowers are known for their vibrant colors, so this is where you can really have some fun. Think about the reds, pinks, yellows, and oranges you see in real hibiscus blooms. You can use colored pencils, markers, or even watercolors.
Don’t be afraid to experiment with different shades and blends to give your flower depth. You might want to make some parts of the petals a bit darker for shadows and others lighter for highlights. This step really makes your drawing feel complete, and it’s a chance to add your own personal touch, which is pretty cool, if you ask me. It’s like adding the final flourish to your work, basically.
Two Styles: Simple Versus Realistic
There are different ways to approach drawing a hibiscus, and our tutorials cover a couple of main styles. One approach is a simpler, less detailed style. This uses fewer guidelines, simpler shapes, and minimal detail, making it a good starting point for anyone. It's really about getting the essence of the flower without getting bogged down in tiny parts, you know?
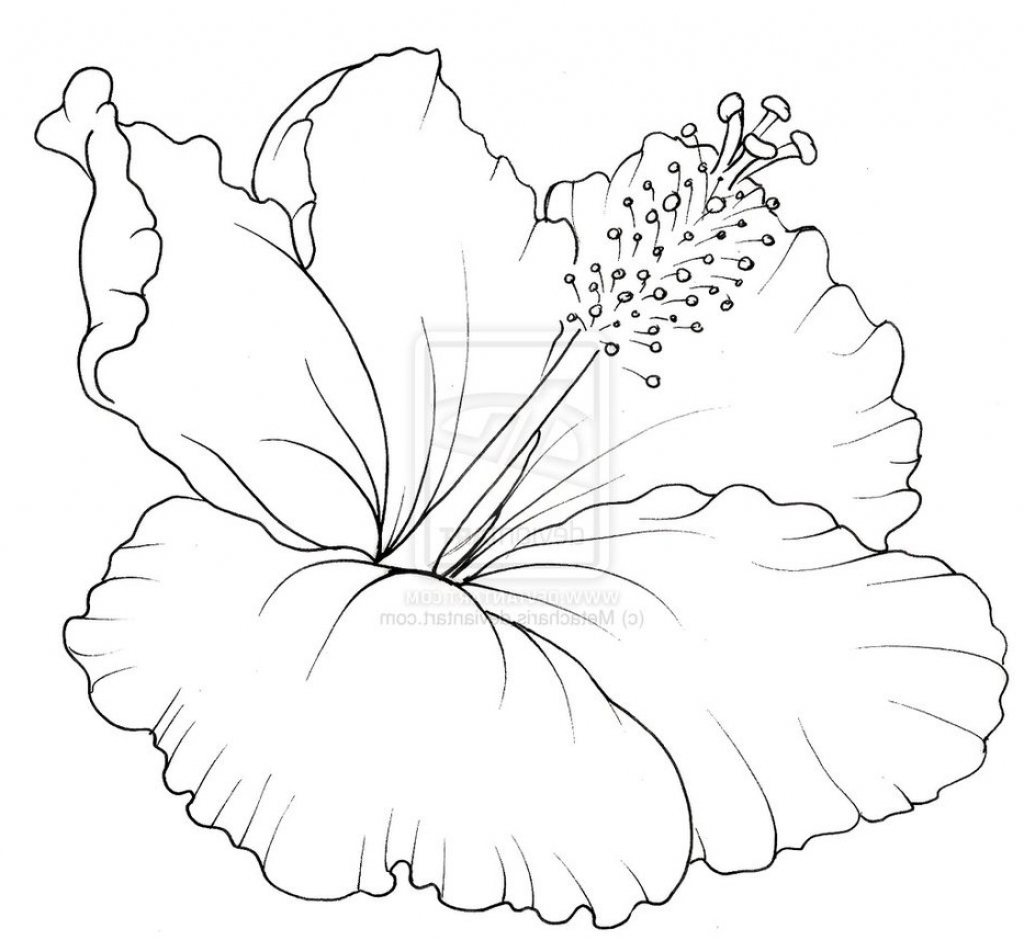
On the other hand, you can also learn how to create a simple yet realistic hibiscus flower drawing. This means paying a bit more attention to how the petals fold and overlap, and the textures. Each step in this more realistic approach is detailed and easy to follow, so you can make your own hibiscus that looks quite lifelike. It’s all about what you prefer and how much detail you want to include, really.
Tips for Success
Drawing is a skill that grows with practice, and there are a few things that can help you along the way. First off, remember that no fancy tools are needed. Just a pencil, some paper, and a little patience will get you pretty far. Don't feel like you need to buy expensive supplies right away, because you really don't, honestly.
Also, don't be afraid to make mistakes. Every artist, no matter how good, makes lines they don't like sometimes. It’s part of the process, and you can always erase and try again. Taking your time with each step, rather than rushing, will also help you get a better result. You'll find that the more you try, the more comfortable you become with the shapes and lines, which is a big part of getting better, you know?
Looking at real hibiscus flowers or good photos of them can also be a big help. Pay attention to how the petals curve, how they attach to the center, and the different shades of color. This observation will naturally improve your drawings. And remember, the goal is to have fun with it, so just enjoy the process of creating something beautiful. It’s about the journey, not just the finished picture, in a way.
Frequently Asked Questions About Hibiscus Drawing
How can I make my hibiscus drawing look more real?
To make your hibiscus drawing appear more lifelike, you can focus on a few things. Pay close attention to the way the petals naturally curve and overlap each other. Adding subtle shading to show where light hits and where shadows fall can really give it depth, too. Also, observing real hibiscus flowers or good reference pictures helps you capture their unique shape and texture more accurately, which is pretty important, actually.
What are some easy ways to start drawing flowers?
Starting with simple shapes is one of the easiest ways to begin drawing flowers. For a hibiscus, you might start with a basic circle for the center and then add simple, curved shapes for the petals around it. Don’t worry about perfect lines at first; just get the general form down. You can then refine your sketch with clearer outlines. There are plenty of easy hibiscus drawing ideas with step-by-step simple sketch outlines available, which can be a good guide, you know.
Can I draw a hibiscus without much detail?
Absolutely, you can draw a hibiscus in a simpler, less detailed style. This approach uses fewer guidelines and focuses on the basic shapes of the petals and the overall form of the flower. It’s a great way to capture the essence of a hibiscus without getting caught up in tiny details. This makes it perfect for beginners or when you just want a quick sketch, which is pretty convenient, really.
Ready to Create Your Own Hibiscus Masterpiece?
You’ve made it through our comprehensive hibiscus flower drawing tutorial, and by now, you should have a beautiful drawing and a better understanding of how to use a curved line to really bring your flowers to life. Remember, practice is what helps you get better, so keep sketching! There are so many possibilities when it comes to drawing flowers, and the hibiscus is just one of them.
Why not try drawing a whole garden of these lovely blooms? You can explore different colors and arrangements. We encourage you to keep experimenting with your art supplies and techniques. If you want to see more drawing ideas, you can learn more about flower drawing on our site, and you might also like to check out this page for more advanced techniques. Keep creating, and have fun with every stroke of your pencil! You can find more inspiration for your art journey by visiting a site like Art Is Fun, for example, which has lots of helpful resources.